


How to Stain Cedar Fence the Right Way

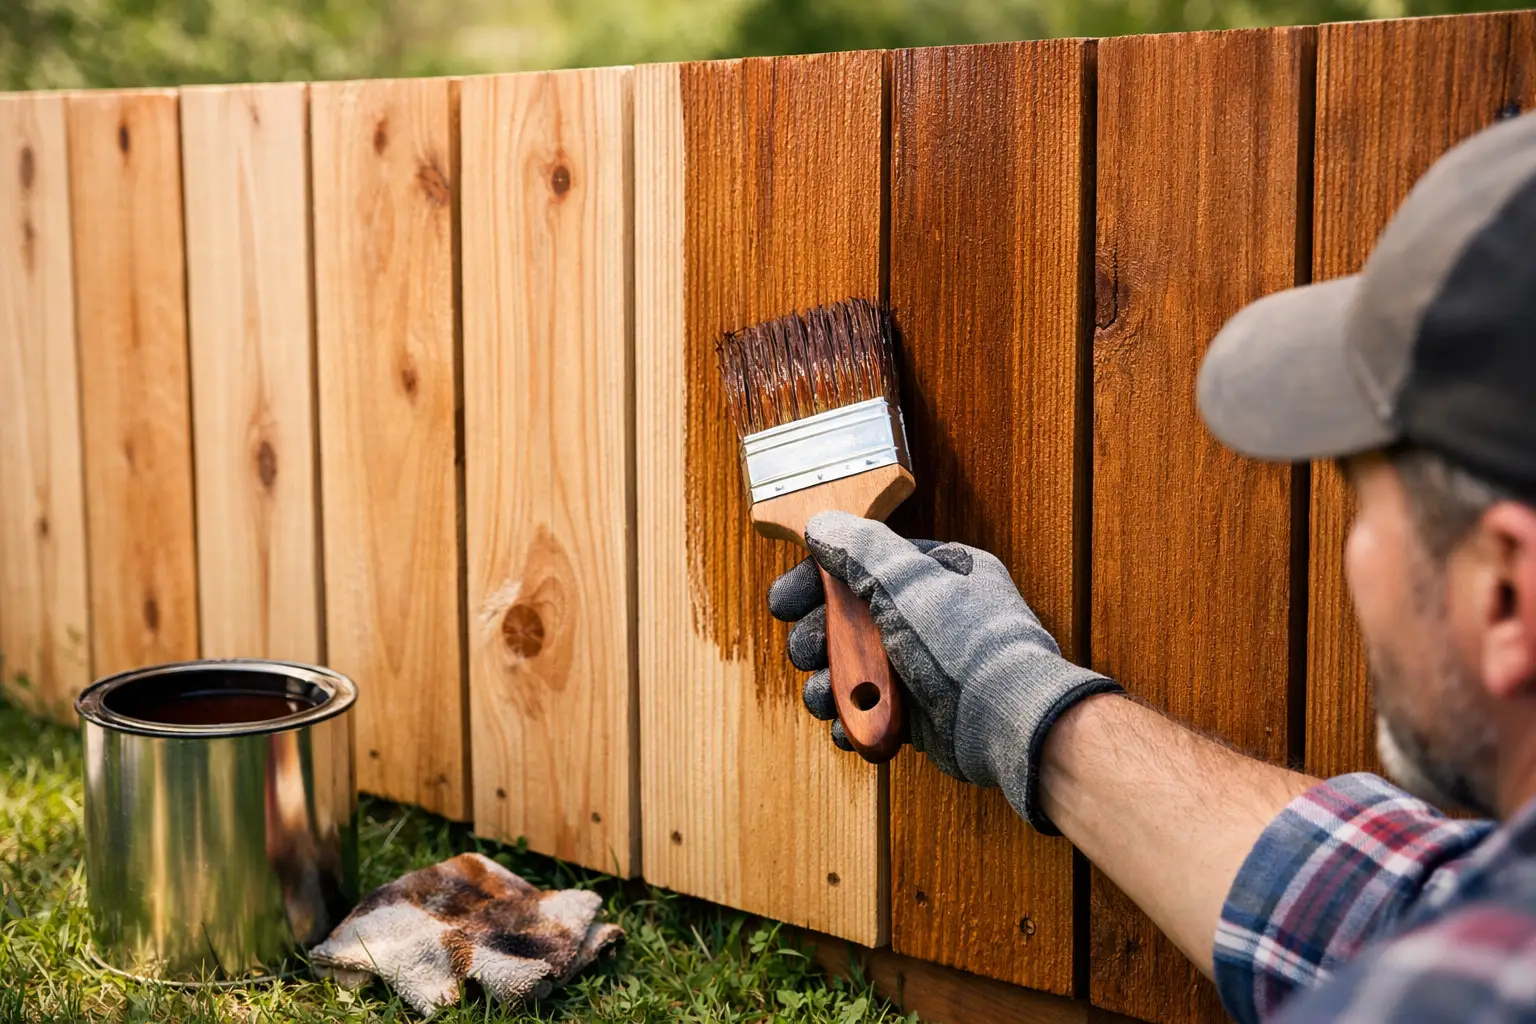
A cedar fence can look premium on day one and tired by the end of the season if you rush the finish. Cedar is naturally durable, but if you want to keep the color even, slow down graying, and add a layer of weather protection, you need to know how to stain cedar fence surfaces the right way.
The good news is that cedar is one of the more forgiving woods to work with. The catch is timing. New cedar, old cedar, rough-sawn boards, and smooth panels do not all absorb stain the same way. If you pick the wrong product or apply it too soon, you can end up with blotching, lap marks, or a finish that fades faster than expected.
How to stain cedar fence without wasting time or product
Start by deciding what you want the fence to look like a year from now, not just next weekend. That choice affects every other step.
If you want the wood grain to stay visible, a transparent or semi-transparent stain is usually the best fit. Transparent stain gives the most natural look, but it also offers the least pigment and typically needs more frequent maintenance. Semi-transparent stain adds more color consistency and UV protection while still showing the cedar grain. If your fence has mismatched boards, repairs, or weathering, a solid stain can hide variation better, but it covers more of the natural cedar character.
For most homeowners and many trade jobs, semi-transparent stain hits the best balance. It protects better than a clear finish, looks more natural than paint, and is easier to maintain than a film-forming coating that can peel.
Oil-based and water-based formulas both have a place. Oil-based stain tends to penetrate deeply and can be forgiving on older, dry wood. Water-based stain usually dries faster, has easier cleanup, and often holds color well. The right answer depends on the fence condition, local weather, and the maintenance cycle you are willing to commit to.
Start with the cedar itself
New cedar often needs a little patience. If the wood is freshly installed, it may still have mill glaze, surface oils, or moisture that can interfere with stain absorption. In many cases, letting a new cedar fence weather briefly helps the stain penetrate more evenly. That does not mean leaving it exposed for months until it turns gray. It means giving it enough time to dry and settle, then testing it before you commit.
A simple water test works well. Splash a small amount of water on the wood. If it beads on the surface, the fence is not ready. If it absorbs in fairly quickly, you are closer to a stain-ready surface.
Older cedar fences need a different approach. If the wood has dirt, mildew, UV damage, or remnants of a previous coating, cleaning is not optional. Stain is not a shortcut around prep. It highlights problems as easily as it hides them.
Before you stain, inspect the fence for popped fasteners, cracked boards, mildew staining, and gray, sun-damaged areas. Replace damaged boards first. Tighten or reset hardware where needed. Then clean the surface so the stain can absorb evenly.
Prep matters more than people think
A clean fence gives you better color, better penetration, and longer performance. Most cedar fences can be cleaned with a wood cleaner or fence wash and a moderate-pressure rinse. Be careful with pressure washers. Too much pressure can fuzz the cedar, scar the boards, and create a rough surface that stains unevenly.
If the fence has mildew or heavy discoloration, use a cleaner designed for exterior wood. If it has already grayed out, a wood brightener can help restore a more even tone before staining. That step can make a major difference, especially if you are using a transparent or semi-transparent color.
Let the fence dry fully after washing. Not just surface dry, but actually dry enough to accept stain. Depending on weather, that can take a day or two, sometimes longer. Staining damp wood is one of the fastest ways to reduce performance.
Sanding is usually limited on fences, but it can help in specific spots. If you have rough splinters, mill marks, or damaged patches, a light sanding can smooth the area. On large rough-sawn cedar fences, sanding the whole surface is often unnecessary and can even reduce absorption if you over-polish the wood.
Pick the right day to stain
Weather affects the result more than many product labels make it seem. A mild, dry day is ideal. If the fence is hot from direct sun, the stain can flash dry before it penetrates properly. If rain is on the way, you risk wash-off or uneven curing. If temperatures are too low, drying slows and performance may suffer.
Aim for a dry stretch with moderate temperatures and low wind. Morning or late afternoon is often better than full midday sun. Work on the shaded side first when possible. On large fence runs, that alone can improve consistency.
How to stain cedar fence step by step
Once the fence is clean, dry, and ready, stir the stain thoroughly. Do not shake it if the product instructions advise against it, since that can introduce bubbles.
Apply the stain with the method that fits the job size and finish standard. A brush gives the most control and helps work stain into the grain, especially on rough cedar. A pad can be efficient on flat sections. A sprayer speeds up large projects, but it usually works best when followed by back-brushing or back-rolling to even out the coverage and help the stain penetrate.
Work a few boards at a time and keep a wet edge. That means finishing from one natural board break to the next rather than stopping in the middle. Cedar can show lap marks if you pause halfway across a panel.
Apply a thin, even coat. More product is not better. Over-application can leave shiny spots, sticky areas, or uneven drying. Penetrating stains should soak in, not sit heavily on the surface. If a second coat is recommended, follow the product timing carefully. Some formulas allow a wet-on-wet second coat within a short window. Others perform best with a single coat only.
Pay attention to end grain and exposed edges. These areas absorb more moisture over time and often benefit from careful, complete coverage.
If you are staining both sides of the fence, plan the sequence so you are not leaning against fresh stain. On a new installation, staining before final assembly can be easier in some cases, but most existing fences are completed in place, so workflow matters.
Common mistakes that shorten fence life
The biggest mistake is using the wrong product for the look and maintenance level you want. A clear water repellent may be easy to apply, but it usually will not hold color or UV resistance the way a pigmented stain will. On the other hand, a heavy film-forming product on cedar can create peeling problems later, especially on fences that take full weather exposure.
Another common issue is staining too soon after cleaning or too soon after installation. Cedar needs the right moisture level to absorb stain properly. If you skip that check, the finish can fail early.
Application mistakes matter too. Uneven spray application, stopping in the middle of a board, and applying too much stain all show up quickly on a fence because the surface is broad and exposed in full daylight.
For contractors, one more trade-off is worth noting. Speed matters on large jobs, but callbacks matter more. A sprayer-only application may look efficient at first, yet back-brushing often produces a more uniform result and fewer customer concerns.
What to expect after staining
A newly stained cedar fence should look richer and more even, but it will still weather over time. That is normal. Sun exposure, precipitation, and fence orientation all affect how long the finish lasts. South- and west-facing sections often fade faster than shaded areas.
Maintenance is usually easier if you recoat before the fence looks fully worn out. Light cleaning and a maintenance coat at the right time are simpler than waiting until the cedar has grayed, dried, and unevenly weathered.
If you are choosing products for a full exterior project, it helps to source stain, prep cleaners, brushes, pads, masking materials, and application tools from one supplier so you can match the system to the job instead of piecing it together later. That is often where expert support saves both time and rework.
A cedar fence does not need a complicated finish schedule. It needs the right stain, proper prep, and a little patience with the weather. Get those three pieces right, and the fence will look better now and hold up better season after season.
