How to Prep Peeling Paint the Right Way

Peeling paint usually tells you two things right away: the surface was not ready for a new coat, or moisture got involved somewhere it should not have. If you want to know how to prep peeling paint so the next finish actually lasts, the job starts before you open a new can. Good prep is what separates a quick cosmetic fix from a repair that holds up.
Why peeling paint happens in the first place
Paint rarely peels for no reason. On interior walls, the usual causes are poor adhesion, grease, dust, humidity, or painting over glossy surfaces without sanding or priming. On exterior siding, trim, doors, and railings, moisture is often the main issue. Water gets behind the coating, the bond breaks down, and the paint lets go.
Older layers can also fail because too many coats have built up over time. When that happens, even a premium topcoat will struggle if the base underneath is weak. That is why repainting over peeling spots without removing the loose material almost always leads to another failure.
How to prep peeling paint before you repaint
The first step is to figure out how far the failure goes. Some surfaces only have a few isolated edges lifting. Others may look mostly intact, but once you start scraping, much more comes off. You need to test the area honestly before deciding whether this is a spot repair or a larger surface restoration.
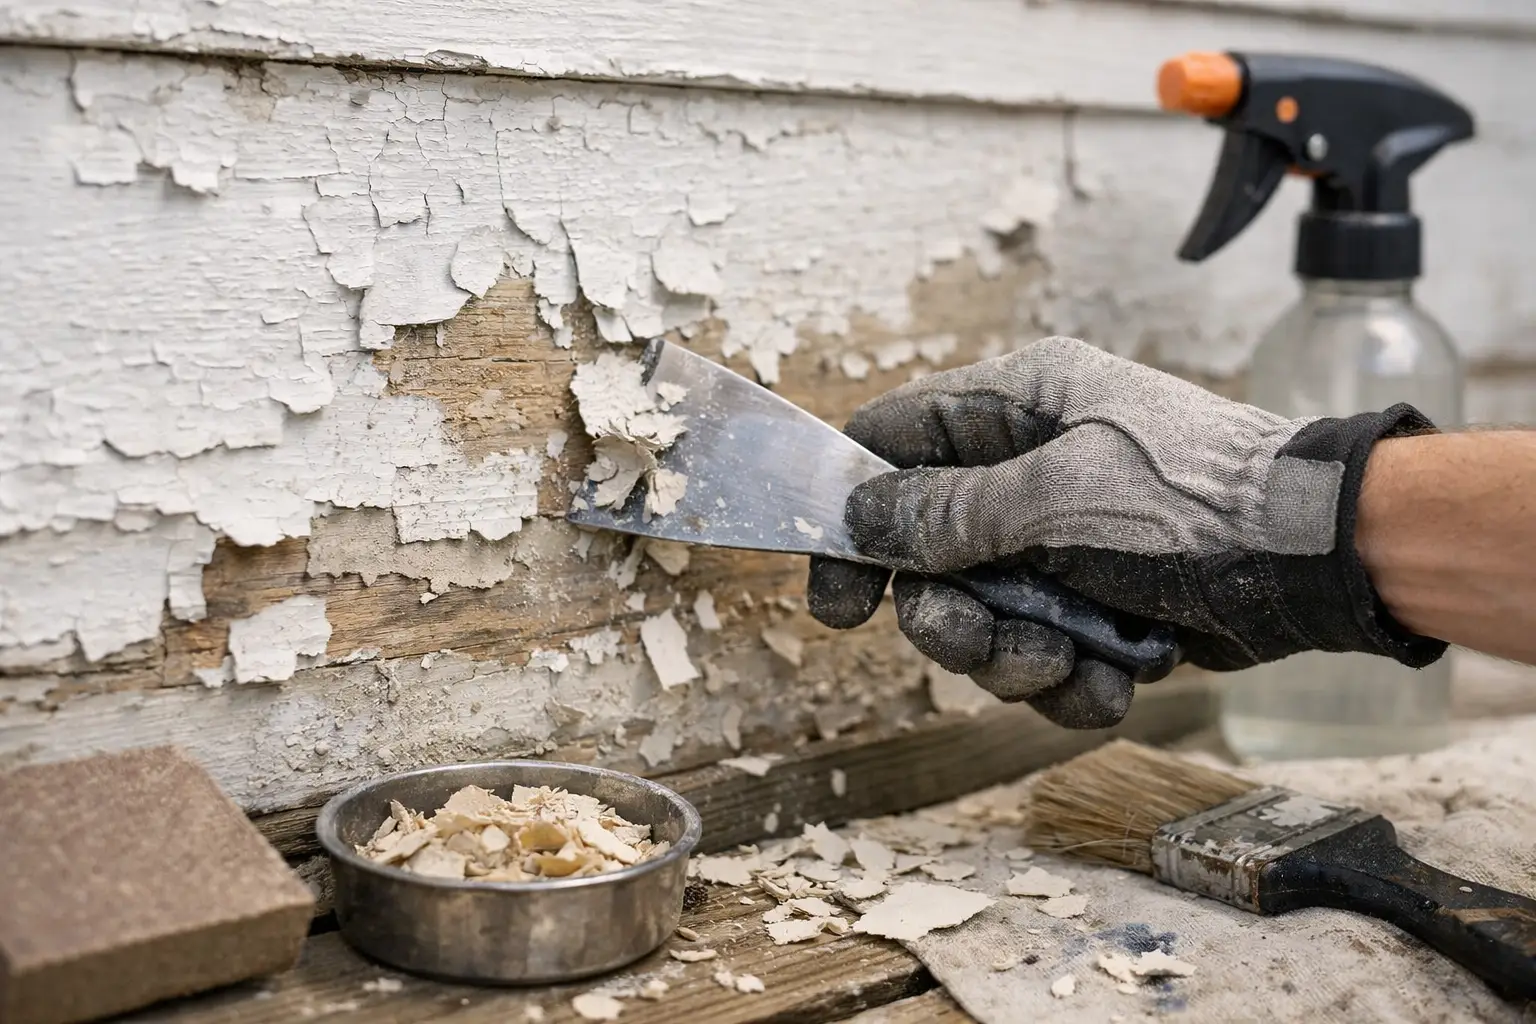
Start with a putty knife or paint scraper and work around every peeling section. Anything loose, curling, blistered, or hollow-sounding needs to come off. Do not stop at the obvious chip. Keep going until you reach paint that is firmly bonded.
If the paint keeps releasing in wide sheets, the substrate may need much more extensive prep. At that point, a full scrape and sand is usually the smarter move than trying to patch around unstable edges.
Check for moisture before doing anything else
If moisture caused the peeling, surface prep alone will not solve the problem. Bathrooms, kitchens, laundry areas, window trim, exterior soffits, and lower siding are common trouble spots. Look for leaks, condensation, failed caulking, clogged gutters, or poor ventilation.
Wood that feels damp should be allowed to dry fully before priming. Drywall with water damage may need repair or replacement if it has softened or stained badly. Repainting too soon traps the problem under a fresh coat, and the new finish can fail fast.
Test for lead on older painted surfaces
If you are working on a home built before 1978, lead-safe practices matter. Disturbing old paint by scraping or sanding can create hazardous dust. A lead test kit helps you make the right call before prep begins.
For any positive result or suspected lead paint, follow local regulations and use proper containment and protection. This is especially important for contractors and anyone working around children or occupied spaces.
Remove all loose and failing paint
This is the part most people rush, and it is usually where repaint jobs go wrong. Scrape thoroughly with a rigid scraper for flat areas and a contour scraper where trim or profiles make access harder. The goal is not to strip every layer off the surface unless needed. The goal is to remove everything that has already lost its bond.
Once scraping is done, feather the edges with sandpaper so the transition between bare substrate and remaining paint is smooth. If you skip this step, the outline of the repair can telegraph through the new finish.
For small repairs, medium-grit sandpaper often works well to knock down ridges, followed by a finer grit to refine the edge. On broader surfaces, a sanding block or power sander can save time, but dust control matters. Interior jobs benefit from vacuum-assisted sanding whenever possible.
Clean the surface properly
After scraping and sanding, the surface needs to be clean enough for primer to bond. Dust, chalk, grease, and residue all interfere with adhesion.
Interior walls usually need a wipe-down with a damp cloth or a mild cleaner, especially in kitchens and high-touch areas. Exterior surfaces may need a more thorough wash to remove dirt, mildew, and chalky oxidation. If mildew is present, it must be treated first rather than painted over.
Let the surface dry completely before moving to patching or priming. This sounds basic, but it is one of the biggest reasons repairs fail on trim, siding, and bathroom walls.
Repair damaged areas before priming
Once the loose paint is gone, you can see what shape the substrate is really in. Small dents, shallow gouges, and scraped drywall paper can usually be repaired with filler or patching compound. Damaged wood may need exterior wood filler or epoxy repair, depending on depth and exposure.
Patch only after the surface is stable and clean. Then sand the repair smooth so it sits flush with the surrounding area. A rushed patch under a finish coat tends to stand out, especially with satin or semi-gloss paints that reflect light more clearly.
If the surface is badly cracked, soft, or deteriorated from rot or water damage, patching may not be enough. Replacing that section is often the better investment.
Prime the surface based on the material and problem
This is where product choice matters. Primer is not just a box to check. It creates adhesion, seals porous areas, and helps create an even finish across patched spots, bare material, and old paint.
A bonding primer is a strong choice when you are painting over sound but previously glossy or difficult surfaces. A stain-blocking primer is better when water marks, tannins, smoke, or old discoloration are part of the issue. Bare wood, new drywall repairs, and sanded filler all benefit from proper priming before topcoat.
For exterior wood that peeled due to weather exposure, an exterior-grade primer designed for durability and adhesion is the safer choice. For interior walls with repaired peeling patches, a quality acrylic primer usually gives a reliable base.
How to know if you need spot priming or full priming
If the damage is limited and most of the existing coating is still solid, spot priming may be enough. Prime the bare areas, patched sections, and feathered edges, then assess the surface. If it looks uneven in sheen or porosity, a full prime coat can help create a more uniform final appearance.
On surfaces with widespread repairs, mixed substrates, or major color change, full priming tends to deliver a more consistent result. It may add one more step, but it often saves you from uneven coverage later.
Choose the right paint for the environment
Even perfect prep can be undermined by using the wrong coating. Bathrooms, kitchens, trim, doors, and exterior surfaces all have different performance demands. Higher-moisture areas need finishes that can handle cleaning and humidity. Exterior projects need coatings built for expansion, contraction, and UV exposure.
This is where buying from a full paint supplier makes the process easier. Instead of guessing, you can match the primer, topcoat, and tools to the actual substrate and conditions. For homeowners, that reduces costly do-overs. For trade pros, it keeps callbacks down and helps maintain finish quality across the job.
Common mistakes when prepping peeling paint
The biggest mistake is painting over loose edges and hoping the fresh coat will lock everything down. It will not. Another common issue is under-sanding after scraping, which leaves visible repair lines. Skipping primer is also expensive in the long run, especially on bare wood, drywall patches, or glossy remnants.
Moisture gets overlooked all the time. If paint is peeling around windows, baseboards, siding joints, or bathroom ceilings, stop and ask why. Treating the symptom without fixing the source usually means doing the same repair twice.
There is also the temptation to over-prepare a small issue into a massive project. That can happen too. If the surrounding paint is bonded well and the substrate is dry and sound, a targeted repair is often enough. The right level of prep depends on how widespread the failure is.
When peeling paint means you should call in extra help
Some jobs are not just prep-and-repaint situations. If you are seeing persistent bubbling, heavy alligatoring, widespread exterior failure, rot, repeated moisture intrusion, or suspected lead across a large area, it may be time for a more specialized approach.
Professional painters and contractors usually look at peeling paint as a system failure, not just a cosmetic flaw. That perspective matters. They assess substrate condition, coating compatibility, weather exposure, and moisture paths before recommending products. If you are managing a larger renovation or multi-room repaint, that kind of support can save time and materials.
If you are sourcing supplies for a repair, it helps to get everything in one trip: scraper, patch, sandpaper, cleaner, primer, caulk if needed, and the correct topcoat. Oui Colour Paint supports both DIY customers and trade buyers with the same practical approach – project guidance, premium product options, and the prep materials that make the finish last.
Peeling paint is frustrating, but it is also useful feedback. The surface is telling you where adhesion failed, where moisture may be getting in, or where shortcuts were taken before. Handle the prep carefully, and your next coat has a real chance to look better and stay put.