


Roller Covers for Smooth Walls That Paint Cleanly

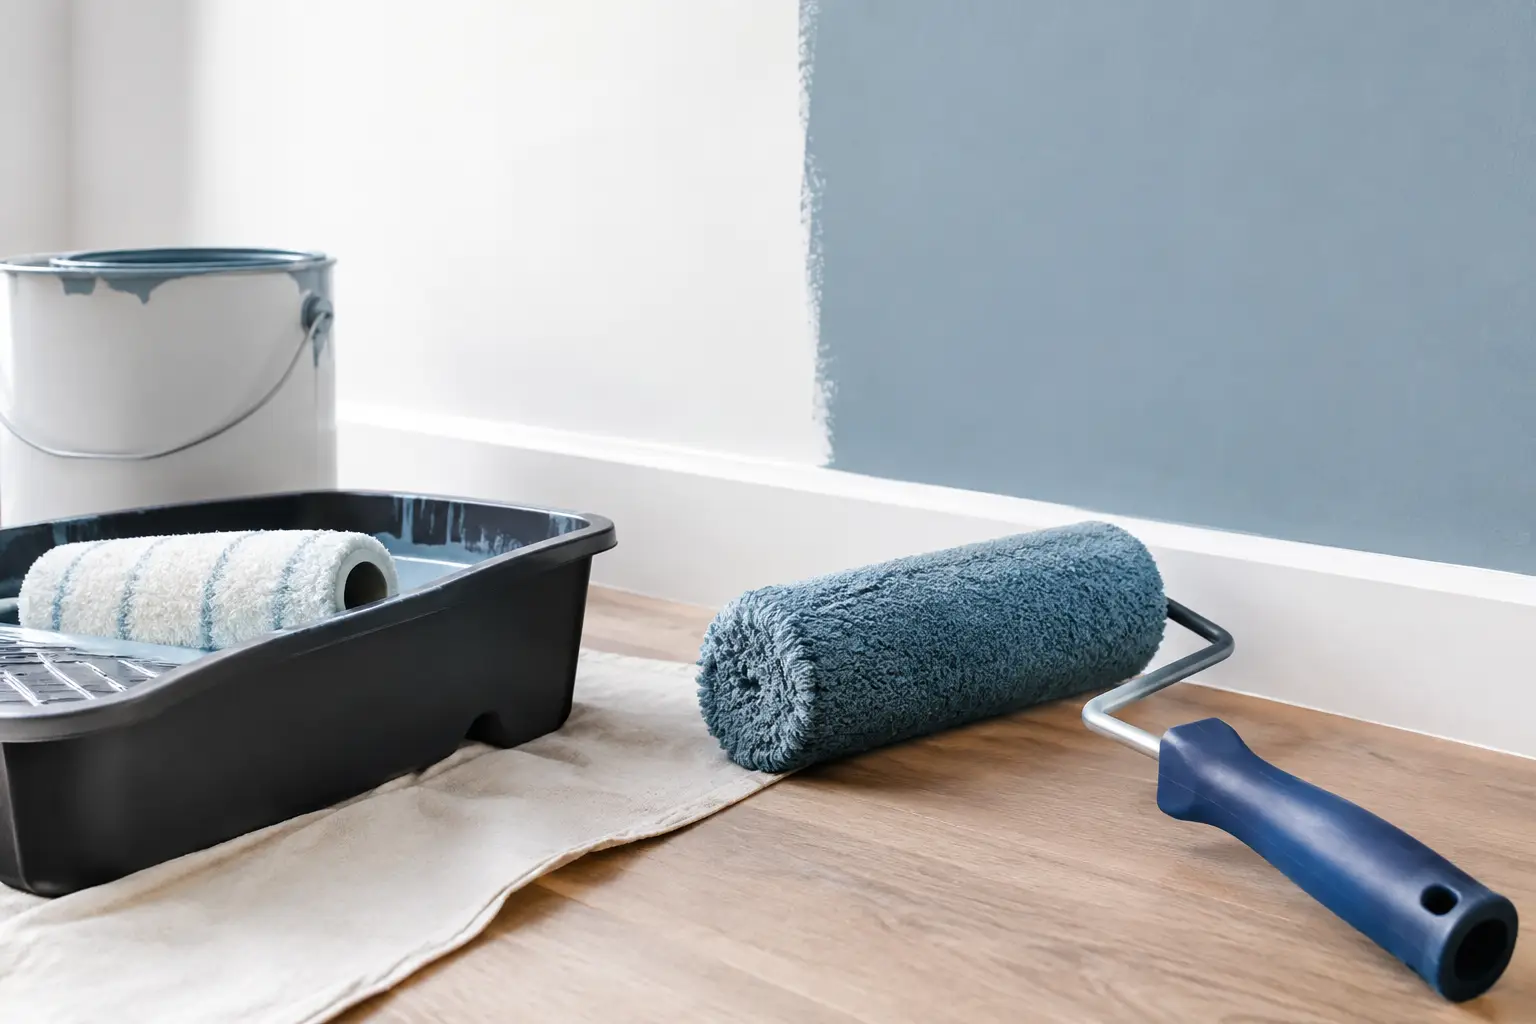
A freshly patched drywall wall can look nearly perfect before paint, then suddenly show lint, stipple, and roller lines after the first coat. The paint may be excellent, but the application tool still determines much of the final appearance. Choosing the right roller covers for smooth walls helps paint level evenly, keeps texture subtle, and makes clean cut-in lines look even sharper.
For bedrooms, living rooms, ceilings, hallways, cabinets, and other low-texture interior surfaces, the goal is straightforward: apply enough paint for proper coverage without creating a heavy orange-peel effect. That means matching roller nap, fabric, and quality to the coating and the condition of the wall.
What makes a roller cover right for a smooth wall?
Roller covers are defined primarily by their nap, or pile length. A longer nap holds more paint and reaches into textured surfaces. A shorter nap lays paint onto flatter surfaces with less stipple. On smooth drywall, plaster, or previously painted walls in good condition, a short-nap cover is usually the best place to start.
A 3/8-inch nap is the dependable all-purpose choice for smooth interior walls. It carries enough paint to work efficiently on full rooms while leaving a restrained, even texture with most premium wall paints. For exceptionally smooth walls, doors, trim, or a fine-finish project, a 1/4-inch nap can produce an even sleeker result. The trade-off is that it holds less paint, so it requires more frequent loading and can feel slower on large wall areas.
A 1/2-inch nap can still work on walls that look smooth from across the room but have light orange peel, repaired patches, or minor surface variation. It offers more coverage and forgiveness, particularly with flat or matte paint. However, it can leave a more visible roller texture than necessary on a truly smooth surface.
Choose the nap before choosing the price
It is tempting to grab an inexpensive multipack, especially for a quick refresh. Yet a roller cover is not a place where the lowest price consistently saves money. Low-quality covers can shed fibers, develop flat spots, splatter excessively, or apply paint unevenly. Fixing those issues takes more time than choosing a better cover at the start.
For most smooth-wall projects, use these practical guidelines:
- Choose 1/4-inch nap for ultra-smooth drywall, smooth plaster, doors, and detail-oriented finishes.
- Choose 3/8-inch nap for standard smooth interior walls and ceilings.
- Choose 1/2-inch nap only when the wall has slight texture, frequent patches, or subtle surface irregularities.
- Avoid 3/4-inch and thicker naps unless the surface has noticeable texture, such as stucco, concrete block, or heavily textured drywall.
Paint sheen also affects the decision. Higher-sheen finishes such as satin and semi-gloss reflect more light, making roller marks and debris easier to see. Use a premium 1/4-inch or 3/8-inch cover, maintain a wet edge, and avoid overworking the coating. Flat and matte paints hide more application texture, but they still benefit from a quality cover that does not shed.
Fabric matters as much as nap length
Not every 3/8-inch roller cover performs the same way. The material changes how much paint the cover holds, how smoothly it releases paint, and how durable it remains through repeated use.
Microfiber roller covers are a strong option for smooth walls because their fine fibers distribute paint evenly and can reduce splatter. They work well with many water-based interior paints, including low-VOC formulas, and are a smart choice when a polished finish is the priority. A quality microfiber cover can hold a useful amount of paint without flooding the wall.
Woven roller covers are another professional favorite. Their construction reduces lint and delivers a consistent finish, especially with premium latex and acrylic paints. If you are painting several rooms, working with deeper colors, or need repeatable results across a larger project, woven covers are worth the upgrade.
Knit covers generally hold more paint and can be economical for broad wall coverage. They can work well on standard smooth walls, but quality varies. For a formal living space, a bright-white ceiling, or a deep-color accent wall where every imperfection shows, choose a shed-resistant woven or microfiber option instead.
Foam rollers have a role, but usually not for rolling full walls. They can leave a very smooth finish on doors, cabinets, and small trim pieces when used with compatible coatings. On large walls, foam tends to load less paint, create bubbles with some products, and slow down the work.
The core and frame affect the finish
A roller cover needs a stable core that fits the frame securely. If the cover slips, wobbles, or feels loose on the cage, paint application becomes inconsistent. Look for a durable solvent-resistant core, especially if you work with specialty coatings, primers, or oil-based products.
For most walls, a 9-inch roller frame provides the right balance of coverage and control. A 4-inch mini roller is useful beside doors, above countertops, behind toilets, and in other tight areas where a full-size frame cannot maneuver. Using the same nap and material in both sizes helps the finish stay consistent.
A sturdy roller frame with a comfortable handle also matters on ceilings and tall walls. Pair it with an extension pole rather than standing on a ladder for every pass. You will maintain a steadier rolling motion, work faster, and create fewer overlap marks.
Prepare the cover before paint touches the wall
Even premium roller covers benefit from quick preparation. Before opening the paint, remove loose fibers with painter’s tape, a lint brush, or a light rinse if the manufacturer permits washing. If you rinse a cover, remove excess water thoroughly before use. A dripping-wet roller can thin the first load of water-based paint and affect coverage.
Use a roller tray or bucket grid that fits the roller width. Load the cover evenly, then roll it against the tray ramp or grid until it is saturated but not dripping. A roller that is too dry leaves thin, rough bands. One that is overloaded splatters and can create heavy ridges at the edge of each pass.
The wall itself needs just as much attention. Fill dents, sand repairs smooth, remove sanding dust, and spot-prime bare compound before applying the finish coat. A high-quality roller cannot disguise dust, flashing from unprimed patches, or a rough repair. When color matching or repainting a repaired area, proper primer and surface preparation make the topcoat look more uniform.
How to roll smooth walls without lap marks
Start near a corner and work in manageable sections, generally three to four feet wide. Apply paint in a loose W or M pattern, then fill the area without pressing hard on the roller. Pressure squeezes paint out unevenly and can create visible tracks along the roller edges.
Keep a wet edge. This means rolling into paint that has not begun to dry. It is especially important in warm rooms, rooms with strong airflow, and large open walls. Work from top to bottom where possible, and maintain a consistent pace rather than cutting in an entire room before rolling. On larger projects, one person can cut in while another follows closely with the roller.
Finish each section with light, nearly pressure-free passes in the same direction. On walls, that is often from ceiling toward baseboard. This final pass, sometimes called laying off, evens out the roller texture. Do not keep rolling once the paint begins to tack up. That is a common cause of patchy sheen and visible lap marks.
When a thicker cover is the better choice
Smooth is not always perfectly smooth. Older walls may have hairline cracks, shallow repairs, old roller stipple, or mild orange peel. If a 1/4-inch cover skips across those minor imperfections, moving up to 3/8-inch or 1/2-inch nap can improve coverage and reduce the number of passes.
The right choice also depends on the paint. Thick primers and some specialty coatings need more capacity than a fine-finish roller can provide. Read the coating label, particularly for high-build primer, masonry paint, or products designed to fill small surface defects. In those cases, use the roller recommended for the coating, then switch to a finer cover for the finish coat if needed.
Replace or clean roller covers the right way
For a one-day project, wrap a loaded roller tightly in plastic between coats to slow drying. Do not leave it for extended periods, especially with fast-drying water-based paint. When the project is complete, wash reusable covers immediately with the appropriate cleaner. Work paint out from the fibers, rinse until the water runs clear, and stand the cover on its end to dry.
Replacement is usually the better call when a cover has hardened paint, matted fibers, uneven wear, or trapped debris. Professionals often reserve fresh covers for final coats, high-visibility rooms, and premium finishes because a clean, round roller cover makes a noticeable difference.
The best finish is rarely about one expensive tool. It comes from a sound wall, the correct paint, a quality roller cover, and a steady application method. If you are unsure which nap or material suits your paint and surface, Oui Colour Paint can help you build a complete project setup, from primer and patching supplies to rollers, trays, and finish coats. Start with the surface in front of you, and choose the cover that lets the paint perform the way it was made to.
