


When a Lacquer Finish for Cabinets Makes Sense

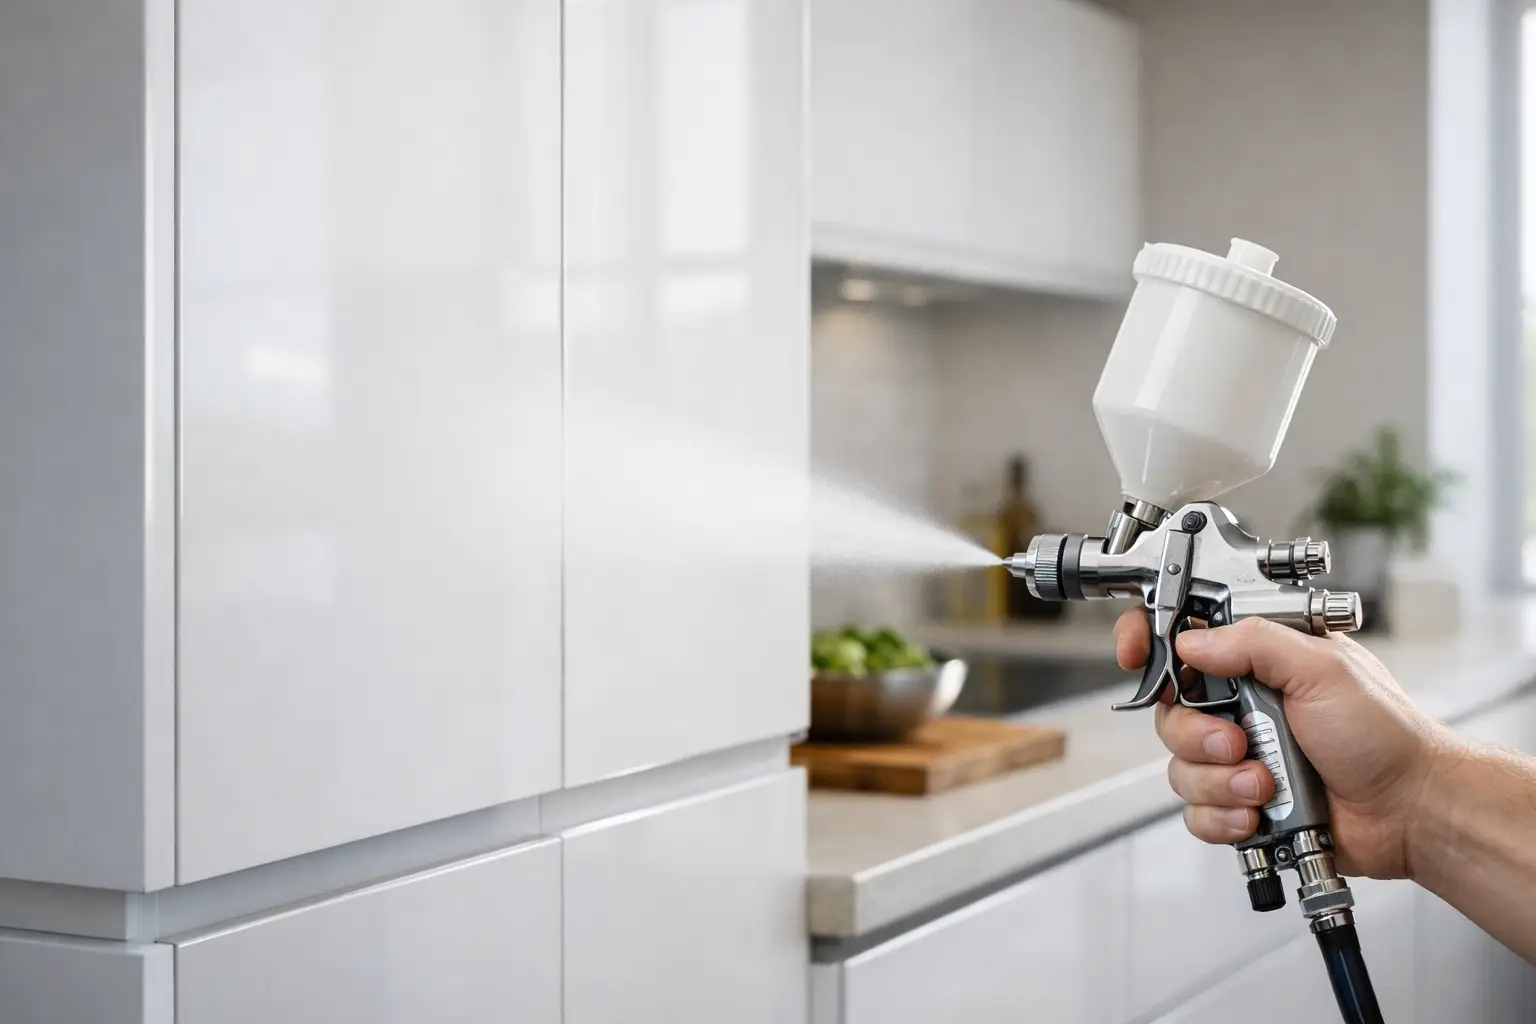
Cabinet doors show every decision: the color match, the brush marks, the sheen, and the wear around handles. A lacquer finish for cabinets is popular because it creates the smooth, furniture-grade look many homeowners and finish professionals want. It dries quickly, builds beautifully in thin coats, and can make painted or stained cabinetry look remarkably refined.
That polished result comes with conditions. Lacquer is not automatically the best coating for every kitchen, bathroom, budget, or application method. The right choice depends on the cabinet material, the existing finish, the level of daily wear, and whether the job can be sprayed in a properly controlled space.
What makes lacquer a strong cabinet finish?
Lacquer is a fast-drying clear or pigmented finish that is commonly sprayed onto cabinets, furniture, millwork, and doors. Traditional solvent-based lacquer softens slightly as each new coat is applied, allowing layers to melt together. That creates a very even finish with excellent clarity and a smooth feel.
For cabinet projects, its biggest advantage is appearance. Lacquer can level out into a clean surface without the heavier, plastic-like film some thick brush-on finishes produce. It works especially well over stained wood when you want grain and color to remain crisp, and over properly primed painted cabinets when the goal is a factory-style finish.
Speed is another reason professionals use it. Many lacquers dry to the touch quickly, so multiple coats can often be applied in one working day when product instructions, temperature, and ventilation allow. That shorter recoat window can keep a shop schedule moving and reduce the chance of dust settling into a wet finish.
Where lacquer is not the easy answer
A beautiful finish is only useful if it holds up in the room where it will live. Kitchen cabinets face cooking grease, water, frequent cleaning, finger oils, heat near appliances, and repeated impacts from doors and drawers. Basic nitrocellulose lacquer may not provide the same chemical, moisture, or heat resistance as higher-performance cabinet coatings.
For busy kitchens, rentals, commercial spaces, or homes where cabinets receive hard daily use, consider a pre-catalyzed lacquer, post-catalyzed lacquer, conversion varnish, or a high-quality waterborne cabinet coating. These systems can offer greater durability, but they also have more demanding mixing, pot-life, application, and safety requirements.
Lacquer can also be less forgiving in a DIY setting. It is usually best sprayed, not brushed or rolled. Solvent-based products produce strong fumes and can be highly flammable, so spraying inside an occupied home, garage, or basement without proper ventilation and fire-safe setup is not a good plan. Always follow the coating label, use the required personal protective equipment, and comply with local regulations for volatile organic compounds and disposal.
Choosing the right lacquer finish for cabinets
The word “lacquer” covers more than one product type. Selecting by the label alone can lead to disappointing results, especially when durability expectations are high.
Clear lacquer for stained or natural wood
Clear lacquer is a practical choice when cabinet wood is attractive and you want to protect it without hiding the grain. It is often used on oak, maple, walnut, birch, and veneer, provided the stain and sealer are compatible with the chosen topcoat.
Sheen makes a major difference. Satin is a reliable middle ground for most homes because it has a soft, clean look and disguises minor fingerprints better than gloss. Matte has a contemporary, low-reflection appearance but can be harder to clean if the product is not rated for kitchen use. Semi-gloss and gloss are easier to wipe down and bring more light into a darker room, though they reveal surface flaws much more readily.
Pigmented lacquer for painted cabinets
Pigmented lacquer can deliver the smooth, opaque look associated with professionally finished cabinetry. It is usually applied over a compatible primer or sealer, then protected with a clear topcoat only when the system calls for one. Do not assume a clear lacquer topcoat will improve every painted finish. Using incompatible products can cause wrinkling, poor adhesion, cracking, or changes in color and sheen.
For white or pale cabinets, ask about yellowing. Some solvent-based clear finishes can amber over time, particularly in low-light areas. A water-clear or waterborne system is often a better option when preserving a bright white paint color is the priority.
Waterborne lacquer alternatives
Waterborne lacquer-style finishes offer lower odor, easier cleanup, and reduced yellowing compared with many solvent-based options. They can be a smart choice for occupied homes, provided the space still has adequate airflow and the product is approved for cabinet use.
The trade-off is that waterborne coatings behave differently during application. They may dry so quickly that lap marks or dry spray become issues without the right spray settings, reducer, and technique. They also require careful prep because water can raise the wood grain. A test panel is worth the time before coating a full kitchen.
Cabinet prep determines whether the finish lasts
Lacquer cannot compensate for grease, silicone contamination, loose old paint, or poor sanding. Prep is the part of the job that makes a cabinet finish look intentional instead of temporary.
Start by removing doors, drawers, hardware, and adjustable shelves where practical. Label every piece so reinstallation is straightforward. Degrease cabinet surfaces thoroughly, especially near ranges, pulls, and trash pullouts. A surface can look clean while still carrying enough cooking residue to interfere with adhesion.
Next, sand to create a uniform profile and remove gloss from the existing coating. Repair dents, open joints, and hardware holes before priming. Vacuum dust, then wipe with a compatible tack cloth or cleaner recommended by the coating manufacturer. Avoid household cleaners that leave waxes, fragrances, or residues behind.
Raw wood, MDF edges, and previously coated cabinets may each need a different primer or sealer. MDF edges absorb heavily and should be sealed carefully for a smooth result. Oak has open grain that may telegraph through paint unless a grain filler or build primer is used. If the cabinet has an unknown existing finish, test adhesion in an inconspicuous area before committing to the full job.
Applying lacquer for a factory-smooth result
Spraying gives lacquer its best chance to level evenly. A properly selected HVLP, turbine, or airless setup can work, but the correct tip, air pressure, fluid adjustment, and product viscosity matter as much as the equipment itself. Follow the technical data sheet rather than thinning by guesswork.
Apply light, consistent coats with controlled overlap. Heavy passes can run, sag, trap solvent, or leave the finish soft longer than expected. Too little material, meanwhile, can create dry spray and a rough texture. Maintain a wet edge, spray doors horizontally when possible, and keep the work area clean to limit dust nibs.
After the recommended dry time, lightly sand between coats with a fine abrasive to remove small imperfections and give the next coat a uniform surface. Do not sand aggressively through edges or profiles. Most cabinet systems need several thin coats rather than one heavy coat, but the product label should determine the exact schedule.
Temperature and humidity matter. Cold conditions slow drying, while excessive heat can cause the coating to flash off before it levels. High humidity can contribute to a cloudy or blushed appearance in certain solvent lacquers. If the environment is outside the manufacturer’s recommended range, wait or adjust the workspace instead of forcing the application.
Dry time is not the same as cure time
Lacquer may feel dry quickly, but cabinets should not immediately return to full service. Reinstalling doors too soon can cause sticking at contact points, impressions from bumpers, or damage around hinges and hardware. Give the coating the cure time specified for that system before heavy cleaning, stacking items in drawers, or exposing surfaces to regular kitchen use.
Use mild soap and water for routine cleaning once the finish has cured. Avoid abrasive pads, ammonia-heavy cleaners, and harsh degreasers unless the coating manufacturer specifically approves them. Even durable cabinet coatings last longer when spills are wiped up promptly and hardware is kept tight.
Can you repair a lacquered cabinet?
One practical benefit of traditional lacquer is repairability. Because fresh lacquer can partially melt into previous coats, small scuffs and localized damage may blend more easily than with some other film finishes. That said, repairs on aged cabinets can still show if color, sheen, or sun exposure has changed over time.
For a small chip, clean the area, feather-sand the damaged edge, touch up color if needed, and apply a compatible finish in thin layers. Larger water damage, peeling, or widespread failure usually calls for broader sanding and refinishing rather than spot repair. Matching a cabinet finish is easier when you know the original coating system, sheen, and color formula.
A lacquer finish can give cabinets the crisp, elevated appearance of custom millwork, but it rewards careful preparation and the right application environment. Choose a cabinet-rated system, test it on a sample door or panel, and build the finish around how the kitchen is actually used. That extra planning is what turns a fresh coat into cabinetry that still looks good after the project is over.
