


How to Match Wood Stain Without Guesswork

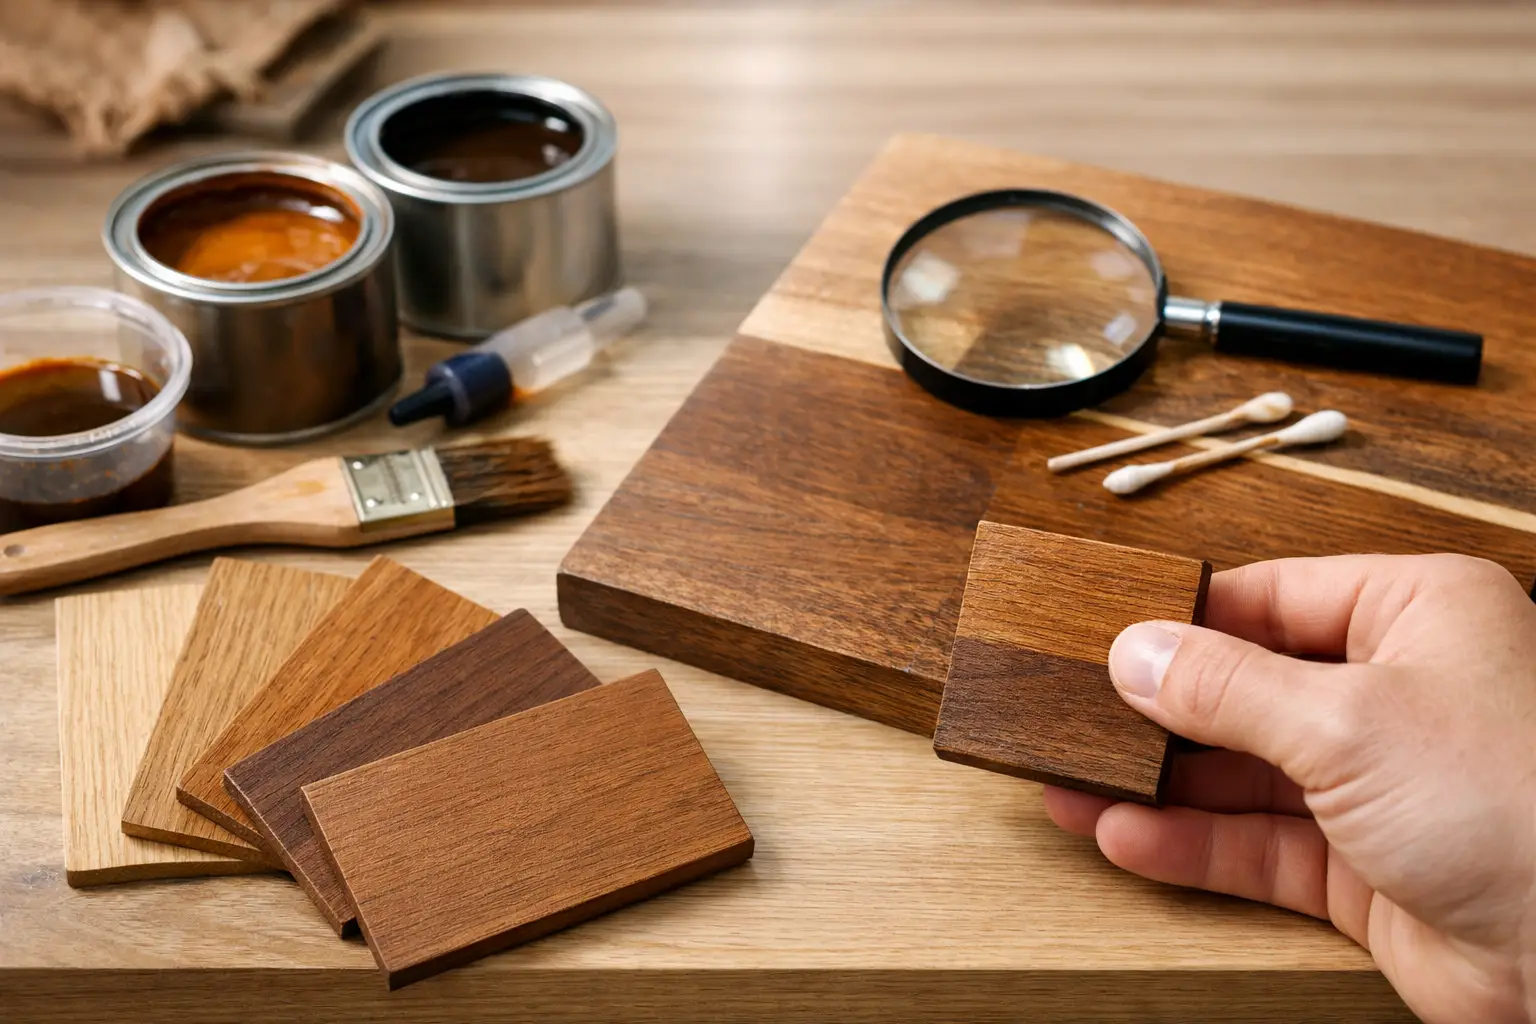
A scratched table edge, a replacement cabinet door, or a patch in hardwood flooring can make an otherwise beautiful room look unfinished. Learning how to match wood stain is less about finding a can with the right name and more about reading the wood, its undertones, and the finish already sitting on top of it.
The good news is that a close, natural-looking repair is achievable. The key is to test before committing, build color in controlled layers, and remember that the final topcoat can change the appearance as much as the stain itself.
Start by Identifying What You Are Matching
Before choosing a stain color, inspect the existing piece in natural daylight. Indoor lighting can make warm wood look redder, cooler, or darker than it really is. Look at an area that has received the least wear and sunlight, such as the underside of a table leaf, the back of a door, or the interior edge of a cabinet.
Ask two questions: What wood species is this, and what is creating its current color? Oak has an open, noticeable grain that takes pigment differently than maple or birch. Pine often absorbs stain unevenly and can turn orange or blotchy. Cherry naturally deepens and reddens with age, while walnut usually carries rich brown and sometimes purple-gray notes.
You may not be able to identify the species with certainty, especially on older furniture or engineered wood. That is fine. Focus on the visible grain pattern and the color direction. Is the existing finish golden, amber, red, gray-brown, espresso-dark, or almost black? Those clues are more useful than relying on labels such as “Early American” or “Provincial,” which vary significantly by manufacturer and base wood.
How to Match Wood Stain by Reading Undertones
Most stain mismatches happen because the color looks right at first glance but has the wrong undertone. A medium brown stain can lean yellow, orange, red, green, gray, or violet. Once it is applied across a larger area, that hidden undertone becomes obvious.
Hold several stain samples beside the existing wood, rather than directly on it. Compare them in daylight and then under the room’s regular lighting. If the original wood appears warm and honey-toned, a cool gray-brown stain will look flat. If the surrounding floor has a weathered brown cast, an orange-toned stain may look new and out of place.
For many repairs, you will get a better result by mixing or layering stains than by searching for a single perfect color. A warm brown base can be muted with a small amount of darker walnut. A red-toned repair can be cooled with a subtle green or gray glaze. Work slowly. It is much easier to deepen color than to remove excess pigment from porous wood.
Check Whether You Are Seeing Stain, Dye, or a Tinted Finish
The color on an existing wood surface is not always in the wood itself. It may come from a penetrating stain, a dye, a tinted lacquer, shellac, toner, or colored varnish. This distinction matters because a stain-only repair will not match a surface whose color was built in the finish coat.
Look closely at scratches and worn edges. If the scratch reveals pale raw wood while the surrounding color looks even and sits near the surface, the piece may have a tinted topcoat. If the color appears to travel through the grain and pores, it is more likely a penetrating stain or dye.
Test an inconspicuous spot with an appropriate cleaner or mild solvent only if you understand the finish you are working with. Older finishes can react unpredictably. When the piece has sentimental value, a high-end veneer, or a complex factory finish, a professional color match is often the smarter investment.
Prepare the Test Area Exactly Like the Project Area
Color testing on a random scrap board is useful only when the scrap behaves like the project. Ideally, use an offcut from the same wood species. If that is not possible, buy a few inexpensive sample boards with similar grain and porosity. A stain that looks perfect on oak may look too dark on birch and too orange on pine.
Sand every test section using the same grit sequence you plan to use on the repair. Coarse sanding opens the grain and generally makes stain look darker. Fine sanding closes the surface and can reduce absorption. For many furniture and trim projects, stopping around 150- to 180-grit provides a reliable starting point, but the right choice depends on the wood and stain system.
If you use wood conditioner, use it on your test boards too. Conditioner is especially helpful for pine, fir, birch, maple, and other woods prone to blotching. The trade-off is that it can make the final stain lighter, so skipping it during testing and using it on the actual piece will throw off your match.
Keep these materials together before you begin:
- Matching wood samples or test boards
- Sandpaper in the grits required for your surface
- Pre-stain conditioner for blotch-prone woods
- Several stain colors, including lighter and darker options
- Clean lint-free rags, brushes, and a compatible clear topcoat
Build the Color in Thin, Controlled Steps
Apply stain to your test board in the direction of the grain, let it sit for the recommended time, and wipe away excess evenly. Mark each sample with the stain name, application time, number of coats, and whether it was conditioned. This small bit of organization prevents expensive guesswork later.
Let each sample dry fully before judging it. Wet stain often looks darker and richer than it will after curing. Then apply the same type of topcoat you plan to use on the finished repair. Clear polyurethane can warm a color slightly, while water-based polyurethane tends to remain clearer. Oil-based varnish, amber shellac, and certain lacquers can add noticeable warmth or deepen the overall tone.
If the first test is too light, add another coat or move to a darker stain. If it is too warm, test a cooler color over it or use a lightly tinted glaze to balance the tone. If it is too dark, sand back and start again rather than trying to bleach or bury it under a lighter product.
Blend Repairs Instead of Creating a Hard Patch
A perfect stain match can still look obvious if the repair ends abruptly. On flooring, cabinetry, and large furniture panels, feather the color outward from the repair area. Apply less pigment as you move away from the center so the transition disappears into the surrounding wood.
This approach is particularly useful when matching sun-faded finishes. The original stain may have been darker years ago, while the exposed surface has lightened or changed color over time. Matching the current appearance, not the original stain formula, is what makes the repair disappear.
For small scratches, a stain marker or touch-up pencil may be enough. Use it sparingly and follow the grain lines rather than coloring a broad, flat patch. For dents, chips, and missing veneer, stain alone may not solve the problem. The repair filler or wood patch must be colored first, because most fillers accept stain differently than real wood.
Do Not Ignore Sheen
Sheen is one of the fastest ways to reveal a repair. A correctly stained spot finished in high gloss will stand out against surrounding satin cabinetry. Likewise, a matte patch on semi-gloss trim may look dull even when the color is accurate.
Match both the topcoat type and sheen whenever possible. Test your clear finish over the stain sample and view it from several angles. Reflected light exposes differences that front-facing daylight can hide. If the entire piece is receiving a new finish, your task becomes easier because one consistent final coat can unify slight color variation.
When to Bring in a Color-Matching Expert
Some jobs deserve more than a best-effort match. Consider professional guidance for antique furniture, extensive floor repairs, kitchen cabinet additions, architectural millwork, or any project where several rooms share the same wood finish. The cost of testing a few products is modest compared with sanding back a large area after a mismatch.
Oui Colour Paint can help homeowners and trade professionals compare stain families, prep systems, and compatible clear coats before a project moves from sample board to finished surface. Bringing a removable sample, door, trim offcut, or clear photos taken in daylight gives a color specialist a far better starting point.
Take the time to make at least two or three test samples before touching the finished piece. The right match is rarely the first stain on the shelf, but a careful test process turns a frustrating repair into woodwork that looks like it has always belonged there.
