


How to Refinish Wood Furniture Properly

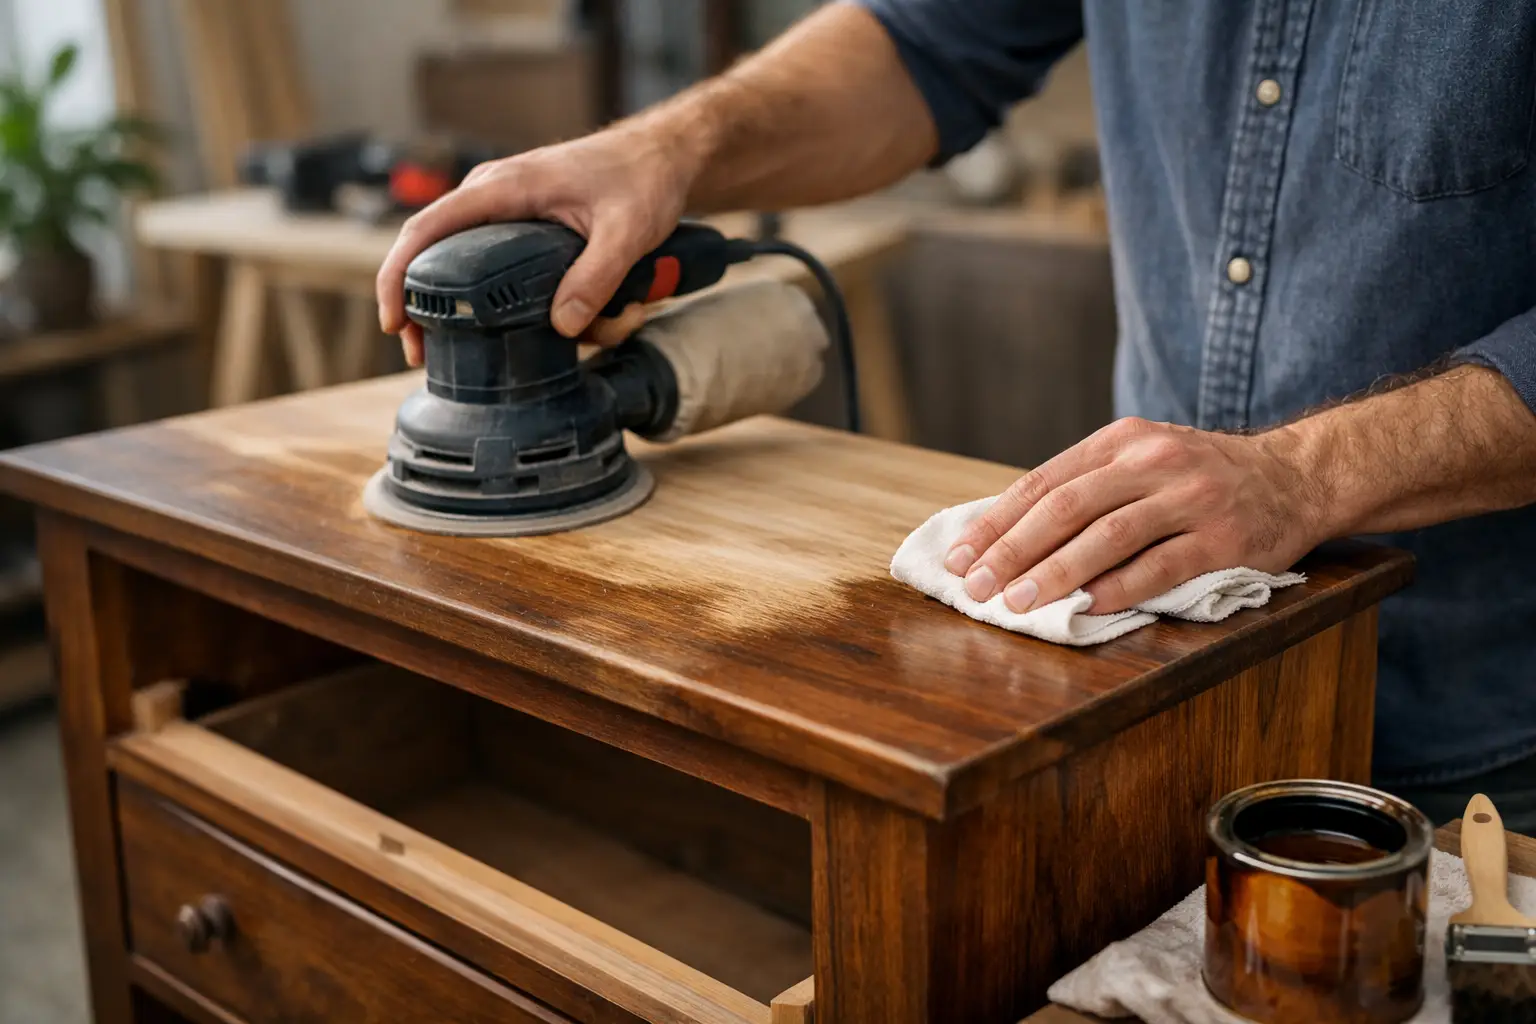
A scratched dresser, a cloudy tabletop, or a dining chair with worn arms usually does not need replacing. If you know how to refinish wood furniture, you can bring solid pieces back to life and get a finish that looks cleaner, lasts longer, and suits the room better than the original.
The part that trips most people up is not the stain or topcoat. It is choosing the right approach before you open a can. Some furniture needs a full strip and sand. Some only needs a scuff sand and fresh clear coat. And some painted pieces are better candidates for a bonding primer and durable furniture paint than a traditional wood stain. Getting that decision right saves time, product, and frustration.
How to refinish wood furniture: start with the surface
Before you buy supplies, inspect the piece closely. Look for veneer, water damage, grease buildup, peeling finish, deep gouges, and loose joints. A solid wood side table gives you more room to sand aggressively than a veneered dresser top. If the wood veneer is thin, heavy sanding can burn through it fast and leave a patchy surface that is difficult to hide.
You also want to identify the existing finish as best you can. Old furniture may have lacquer, shellac, polyurethane, paint, wax, or oil-based stain under years of polish. If the finish is flaking, alligatored, or uneven across the piece, a full refinish usually makes more sense than trying to patch it. If the surface is structurally sound but dull, lightly scratched, and still even in color, a simpler refresh may do the job.
This is where many DIY projects go sideways. People commit to stripping everything when a lighter prep would have worked, or they paint over contamination and wonder why adhesion fails. A dependable result starts with honest surface evaluation.
Clean first, always
Furniture collects more residue than it seems. Wax, furniture polish, hand oils, cooking grease, and dust can interfere with sanding and finish adhesion. Start by removing hardware and labeling it if you plan to reuse it. Then clean the piece thoroughly with an appropriate surface cleaner or degreaser and let it dry fully.
Do not skip this step. Sanding a dirty finish can grind contaminants into the surface instead of removing them. On kitchen furniture or older wood pieces, that matters even more.
Once the piece is dry, decide whether you need to strip, sand, or prime.
When sanding is enough
If the finish is intact and you are repainting or applying a fresh clear coat, sanding may be all you need. A medium grit can remove gloss and level minor defects, followed by a finer grit for a smoother surface. The goal is not always to reach bare wood. Often, the goal is to create a stable, properly profiled surface for the next coating.
When stripping makes sense
If you are changing from a dark stain to a lighter one, dealing with layered finishes, or trying to expose the natural wood grain, a chemical stripper can save time and preserve detail better than aggressive sanding alone. This is especially useful on carved legs, routed edges, and detailed drawer fronts.
Stripping is messier, and it adds drying and cleanup time. But on the right piece, it is the cleaner route.
Sanding without ruining the piece
If you are learning how to refinish wood furniture for the first time, sanding is the step that deserves the most patience. Start with the least aggressive grit that will actually remove the old finish or smooth the surface. For many projects, that means working from medium to fine rather than going straight to a coarse paper.
Always sand with the grain on visible surfaces. On flat tabletops and broad drawer faces, a sanding block or orbital sander helps keep the pressure even. On edges and profiles, hand sanding gives you more control. Pressing too hard creates dips and swirl marks that become obvious once stain or topcoat hits the surface.
After each sanding stage, remove dust thoroughly. A vacuum and tack cloth or lint-free cloth work well. Dust left behind can interfere with stain absorption and leave debris in the final coat.
If you uncover filler, veneer repairs, or mismatched wood under the old finish, pause before moving ahead. Stain highlights inconsistencies. Paint hides them better. Sometimes the right finish choice is the one that gives the best-looking result, not the one that exposes every repair.
Choosing stain, paint, or clear finish
Not every wood piece should be stained. That may sound counterintuitive, but it is true. If the wood species is unattractive, the repairs are visible, or the surfaces are uneven in porosity, stain can make the project look worse. In those cases, a high-quality primer and furniture paint often deliver a better finish with less effort.
If the wood is worth showcasing, choose a stain based on tone and use. Oil-based stains usually offer longer working time and rich penetration, while water-based stains dry faster and can be easier to manage in tighter schedules. Test your color on a hidden area or scrap whenever possible. The same stain can look very different across oak, pine, maple, and veneer.
If you are painting, use a bonding primer when the surface is slick, previously coated, or prone to bleed-through. Then apply a furniture-appropriate paint designed for durability and a smoother cured finish. For high-touch pieces like tables, vanities, and dressers, product performance matters more than saving a few dollars on the can.
Applying stain the right way
Stain rewards consistency. Apply it evenly, work in manageable sections, and wipe off excess based on the manufacturer directions and the depth of color you want. Leaving too much stain on the surface can create a muddy appearance and extend dry time.
A common mistake is rushing into topcoat before the stain is fully cured. If the stain still feels tacky or smells strongly, wait. Clear finish over uncured stain can lead to adhesion issues, sheen problems, or a soft finish that marks too easily.
For large surfaces like tabletops, maintain a wet edge and avoid stopping mid-panel. Lap marks show up fast on stain, especially under direct light.
Topcoat is what makes it last
A beautiful stain or paint job still needs protection. The right topcoat depends on how the furniture will be used. A decorative accent table in a bedroom does not need the same finish system as a kitchen table, bathroom vanity, or commercial waiting-room bench.
Polyurethane is a common choice for durability, especially on tabletops and high-traffic pieces. Water-based polyurethane tends to dry clear and resist yellowing, which makes it useful over lighter woods and painted finishes. Oil-based polyurethane usually adds warmth and can be a good fit for darker wood tones, though it dries more slowly and has a stronger odor.
Apply thin coats rather than trying to build protection in one pass. Between coats, lightly sand if the product directions call for it, then remove dust completely. A smoother final finish usually comes from multiple controlled coats, not one heavy application.
For painted furniture, some products do not require an additional topcoat, while others benefit from one in high-wear settings. It depends on the paint system, sheen, and intended use. Always match your process to the product you are using.
Dry time, cure time, and realistic expectations
One of the biggest differences between a decent result and a professional-looking one is respecting dry and cure times. Dry to the touch is not the same as ready for use. Drawers, tabletops, and chair seats take abuse quickly, and a finish that has not cured can scratch, print, or stick.
Temperature and humidity also affect performance. A cold garage or damp basement can slow drying dramatically. If conditions are not right, your finish may level poorly or stay soft longer than expected.
For pros and serious DIYers, this is where buying the right products from the start pays off. Matching primers, stains, paints, and topcoats to the project cuts down on guesswork and rework. A supplier like Oui Colour Paint can help you source prep materials, specialty coatings, applicators, and finish systems in one order, which is useful when you want the job done right the first time.
Common refinishing mistakes to avoid
Most refinishing problems come from skipping prep, over-sanding, or mixing products without checking compatibility. Bleed-through, fisheyes, peeling, cloudy topcoat, and uneven sheen usually trace back to surface contamination or impatience.
If you are working on an antique or sentimental piece, test your full process on a hidden spot first. That includes cleaner, stripper, stain, paint, and topcoat. It is a small step that can prevent a costly mistake.
And if the furniture has structural damage, loose veneer, or extensive water staining, refinishing alone may not solve the problem. Sometimes repair work needs to happen before the finish ever starts.
Refinishing wood furniture is not about forcing every piece through the same process. It is about reading the surface, choosing the right system, and giving each coat enough time to do its job. When you slow down at the start, the final finish usually looks better, wears better, and feels worth the effort every time you walk past it.
