


How to Paint Exterior Trim for a Lasting Finish

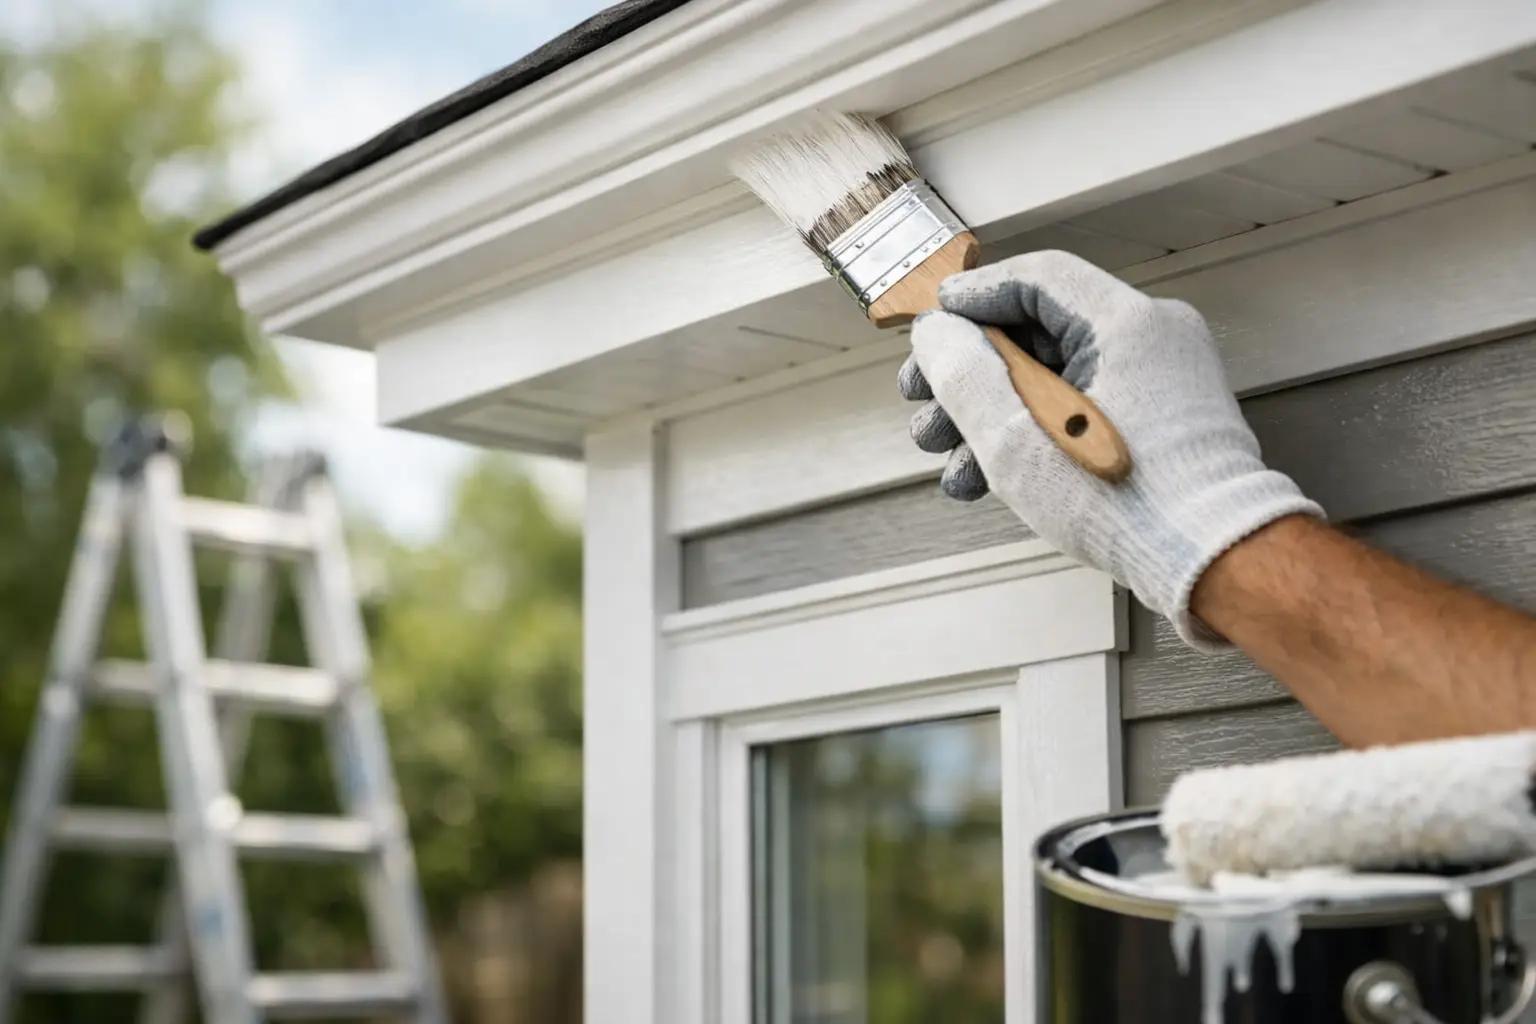
Fresh exterior trim does more than sharpen a home’s curb appeal. It seals vulnerable wood, refreshes tired siding colors, and gives windows, doors, fascia, and railings a clean finished edge. Knowing how to paint exterior trim correctly is less about rushing on a bright new color and more about surface preparation, weather conditions, and using a coating system built for the material underneath.
For homeowners, this is a manageable project that can make an older exterior look cared for again. For painters and contractors, the details are what prevent callbacks: paint that peels around window frames, brush marks across fascia boards, or lap marks that show up as soon as the afternoon sun hits.
How to Paint Exterior Trim: Start With the Surface
Exterior trim takes more abuse than many homeowners realize. Rain moves through joints and seams, ultraviolet light breaks down coatings, and temperature swings cause wood to expand and contract. A premium exterior paint can perform well, but it cannot compensate for loose paint, failing caulk, or wet wood.
Begin by walking around the property and checking every trim area. Look closely at window and door casings, corner boards, soffits, fascia, porch posts, shutters, and garage-door trim. Probe any soft-looking wood with a putty knife or awl. If the material is rotted, replace it before painting. Paint can hide a blemish temporarily, but it will not repair structural damage.
Wash the trim to remove dirt, chalking, pollen, mildew, and residue. A garden hose, soft brush, and exterior-safe cleaner are often enough for lightly soiled surfaces. If mildew is present, use a mildewcide cleaner according to its label directions. Pressure washing can be effective, especially on larger homes, but use a controlled setting and keep the wand moving. Too much pressure can gouge wood, force water behind trim, and damage older caulk.
Let the exterior dry completely. That may mean waiting overnight or longer after washing, depending on humidity, shade, and the condition of the wood. Painting damp trim is one of the fastest ways to trap moisture beneath a new coating.
Scrape, Sand, Repair, and Caulk
Once the surface is dry, remove every loose or peeling edge with a quality paint scraper. Do not stop at the paint that comes off easily. Continue until the remaining coating is firmly bonded to the surface. Feather those edges with medium-grit sandpaper so the transition between bare areas and old paint is smooth.
Sanding is also the right move when glossy trim is still in good shape but needs better adhesion. You are not trying to strip sound paint completely. The goal is to dull the sheen and create a clean, lightly textured surface for primer or paint to grip.
Fill small dents, nail holes, and minor cracks with an exterior-rated wood filler. After it cures, sand it flush. For open joints between trim and siding, window frames, or door frames, apply a paintable exterior caulk. Leave weep holes and drainage gaps open, particularly around windows. Sealing places that are designed to shed water can create a moisture problem instead of solving one.
Replace cracked glazing or failed putty around older wood windows before painting. If you are working on a home built before 1978, assume old coatings may contain lead until testing proves otherwise. Follow applicable safety rules for containment, cleanup, and dust control rather than dry-sanding or scraping without protection.
Choose the Right Primer and Exterior Paint
The best coating choice depends on what the trim is made from and its current condition. Wood, engineered wood, fiber cement, PVC, aluminum, and previously painted metal each have different adhesion and priming needs. Bare wood and patched areas usually need primer. Stained or tannin-rich woods such as cedar and redwood need a stain-blocking exterior primer to reduce brown or yellow bleed-through.
Use a bonding primer on difficult surfaces such as glossy factory-finished trim, PVC, or sound old paint where adhesion is a concern. Metal trim may require a rust-inhibiting primer after rust has been removed. Always confirm that the primer and topcoat are compatible, especially when covering an unknown existing finish.
For most painted exterior trim, a high-quality exterior acrylic latex paint is the practical choice. It offers color retention, flexibility, easier cleanup, and strong resistance to weathering. Satin and semi-gloss are common trim sheens because they are easier to clean and provide definition against siding. Semi-gloss highlights architectural detail beautifully, but it also reveals brush marks and surface flaws more readily. Satin is often the more forgiving option for older or textured trim.
A few tools make the work cleaner and more efficient:
- A 2- to 2.5-inch angled synthetic brush for cutting in and detailed trim work
- Mini rollers for broad, flat fascia boards and wide trim sections
- Scrapers, sanding sponges, and dust-control supplies for preparation
- Paintable exterior caulk, a caulk gun, and exterior wood filler for repairs
- Drop cloths, painter’s tape, ladders, and a stable work platform for protection and access
For a full exterior project, sourcing primer, caulk, paint, brushes, rollers, and prep supplies at once avoids costly pauses midway through the job. Oui Colour Paint can help homeowners and trade professionals build the right product system for the surface and local exposure conditions.
Watch the Weather Before You Open the Can
Exterior painting has a weather window, not just a temperature range. Check the label for the product’s recommended application temperatures, then look at the forecast for the full drying and curing period. Avoid painting when rain is expected soon, when surfaces are wet with dew, or when strong direct sun is heating the trim.
Direct sun can make paint dry too quickly, reducing flow and leaving visible lap marks. Work around the house as the shade moves whenever possible. Start on the shaded side in the morning and shift with the sun. Wind matters, too. A breezy day may feel ideal, but it can carry dust, pollen, and debris into wet paint.
Cool temperatures slow dry time, while excessive heat can cause paint to skin over before it levels. Humidity adds another variable. If conditions are marginal, waiting one day is usually less expensive than repainting a failed finish next season.
Apply Paint in a Controlled Order
Stir the paint thoroughly, including from the bottom of the can, but avoid shaking it aggressively if you are brushing. Shaking introduces bubbles that can transfer to the surface. If you are using multiple gallons of the same color, box them together in a larger bucket to maintain consistent color from one section of trim to the next.
Start with repaired and primed spots, then paint the trim in manageable sections. Load the angled brush without overfilling it, and lay paint onto the surface with the long edge of the brush. Finish each stroke in the direction of the grain on wood trim. Keep a wet edge by working from one end of a board to the other rather than painting disconnected patches.
For wide, flat boards, brush the edges first and follow with a mini roller. Then lightly back-brush or back-roll while the paint is wet to even out the finish. This method is faster than brushing every inch, yet still leaves a polished result.
Two thin, even coats nearly always outperform one heavy coat. Heavy applications are more likely to sag, wrinkle, remain soft, or dry unevenly. Respect the manufacturer’s recoat time, and do not assume paint is ready for another coat simply because it feels dry to the touch. Recoat timing changes with temperature and humidity.
Handle Windows, Doors, and Hardware Carefully
Tape can help create crisp lines, but it is not a substitute for careful cutting in. On rough or uneven surfaces, paint can bleed under tape. Use tape where it genuinely saves time, such as protecting glass or hardware, then remove it slowly while the final coat is still slightly wet or after it has cured as directed by the tape manufacturer.
When painting window trim, avoid sealing operable windows shut. Keep paint out of tracks, weatherstripping, hinges, and drainage channels. For doors, remove hardware when practical or protect it carefully. Painting around doorknobs, locks, and house numbers tends to look rushed and makes future maintenance harder.
Exterior trim rewards patience because it is where the eye naturally lands. Give the surface the prep it needs, choose coatings designed for the material and climate, and apply them in calm, suitable conditions. The result is not merely a brighter border around the house – it is a durable finish that helps protect the parts of the exterior working hardest every day.
