


Best Primer for Stained Wood: How to Choose

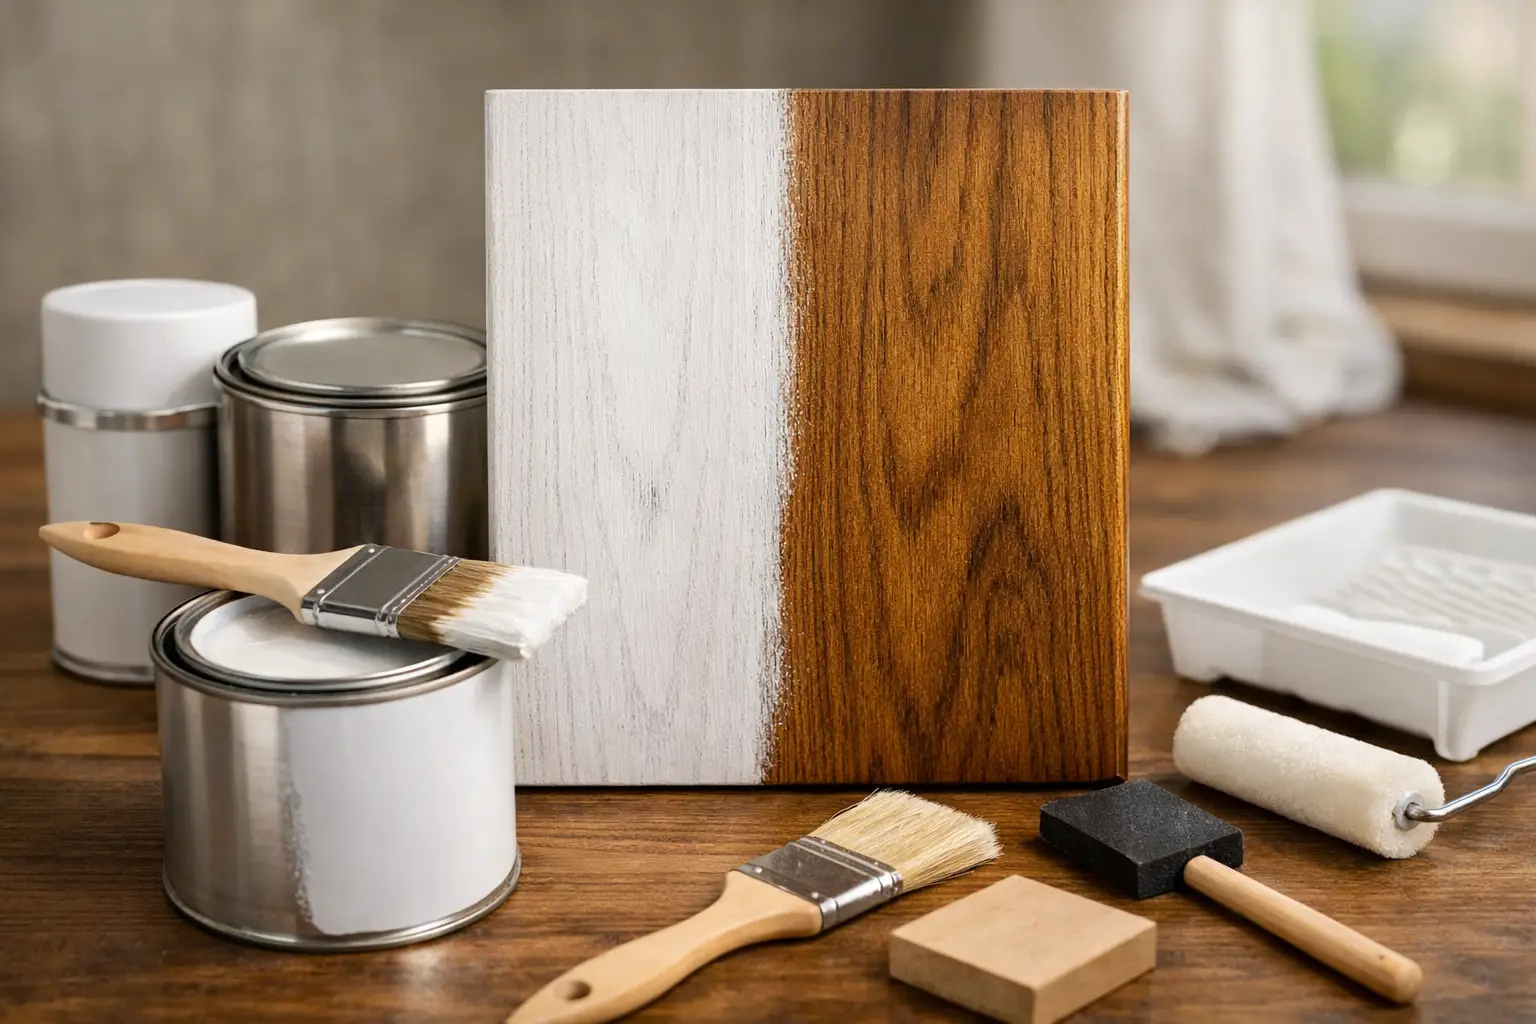
A freshly painted cabinet, trim board, or dresser can look excellent on day one, then develop yellow-brown spots weeks later. That is why the search for the best primer stained wood projects can rely on is really a search for stain-blocking power, not simply a white base coat. The right primer keeps tannins, old wood stain, smoke residue, and knot bleed from working their way through your finish paint.
For homeowners, that means fewer do-overs. For painters and contractors, it means a finish that holds up after the job is complete. The product you choose should match the wood, the source of the discoloration, and the coating going on top.
What Makes the Best Primer for Stained Wood?
Stained wood presents two separate challenges. First, the existing finish may be glossy or slick, which can prevent a new coating from gripping properly. Second, the wood itself may contain natural tannins and resins that migrate through water-based paints, especially on woods such as cedar, redwood, mahogany, and oak.
A quality primer for stained wood needs to do more than improve paint adhesion. It should seal the surface and block discoloration before it reaches your topcoat. This matters whether you are painting a dated oak vanity, refinishing a pine table, covering dark stained trim, or repainting exterior cedar siding.
The best choice depends on how severe the issue is. A light, clean stain color with no visible bleed may only need a high-adhesion primer. Water marks, nicotine staining, wood knots, strong odors, and deep tannin bleed call for a true stain-blocking formula.
Shellac-Based Primer for Severe Bleed and Odors
Shellac-based primer is often the strongest option when stains are stubborn. It is particularly effective over knots in pine, dark water stains, smoke damage, nicotine, pet odors, and persistent tannin bleed. It dries quickly and sticks to many difficult surfaces, including old varnish and glossy wood after proper cleaning and scuff sanding.
The trade-off is application comfort. Shellac primers have a strong odor, require denatured alcohol for cleanup, and can feel less forgiving on large projects because of their fast dry time. They are an excellent problem-solver for spot priming knots and stains, as well as for whole pieces of furniture or trim where bleed-through would be costly to fix later.
Oil-Based Primer for Tannins and Raw Wood
Oil-based stain-blocking primer is a dependable choice for bare wood, weathered wood, wood with tannins, and previously stained surfaces that need reliable sealing. It penetrates and levels well, giving paint a stable surface to bond to. It is often a practical option for interior trim, doors, cabinets, and exterior wood when paired with a compatible exterior paint system.
Oil primers generally dry more slowly than shellac and require mineral spirits for cleanup. They also carry more odor than water-based products. Still, for many repainting projects, that extra dry time is worthwhile because it provides strong blocking performance and a durable foundation for both latex and oil-based topcoats.
Water-Based Primer for Clean, Light-Duty Projects
Water-based bonding primers are easy to apply, low odor, and simple to clean up with soap and water. They are a good fit when the stained wood is clean, sound, lightly colored, and free of knot bleed or water damage. They are also convenient for occupied homes where ventilation is limited.
Do not assume every water-based primer will stop wood tannins. Some premium waterborne stain-blocking primers offer improved resistance, but severe stains can still reappear. If the wood has a history of yellowing through paint, use shellac or oil primer for the first coat rather than gambling on a lighter-duty product.
Match the Primer to the Project
The best primer for stained wood furniture is not always the best option for siding, cabinets, or trim. Think about how the surface will be used after painting.
For furniture, adhesion and appearance are usually the priority. Clean the piece thoroughly, dull shiny areas with sanding, and use a bonding primer. Choose shellac or oil-based primer if knots or dark stain are visible, especially on pine, oak, or mahogany. Follow with a durable furniture, cabinet, or interior enamel paint that can handle cleaning and daily contact.
For cabinets, grease and hand oils are often as much of a problem as the existing stain. Degrease thoroughly before sanding. A quality bonding and stain-blocking primer helps prevent peeling around handles, doors, and drawer fronts. Spray application can create a smoother finish, but brush and roller application can still produce excellent results with the right tools and thin, even coats.
For interior trim and doors, oil-based primer remains a proven choice when covering dark stain or wood species prone to bleed. If the project includes isolated knots, spot prime those areas with shellac before applying a full primer coat across the surface.
For exterior stained wood, select a primer rated for exterior exposure and use it with an exterior-grade topcoat. Exterior boards need to be dry, clean, and free of loose coating before priming. Mildew, chalking, and weather damage must be addressed first. A primer may block stains, but it cannot repair soft, rotted, or unstable wood.
Surface Preparation Determines the Result
Even the best stain-blocking primer cannot overcome poor preparation. Start by removing dust, grease, wax, furniture polish, and other contaminants. Kitchen cabinets and old furniture often need a degreaser before sanding. If you skip this step, sanding can spread oils across the surface rather than remove them.
Next, sand glossy finishes enough to create a uniform dullness. You do not always need to strip stained wood to bare wood, but you do need to remove shine and give the primer something to grip. Repair dents, cracks, and nail holes with an appropriate filler, then sand repairs smooth once dry.
Vacuum the dust and wipe the surface with a clean, lint-free cloth. If you are working with bare wood, remove dust from the grain carefully. Dust left behind can create a gritty finish and reduce adhesion.
When painting older homes, take extra care with unknown existing coatings. If paint layers may contain lead, follow applicable safety requirements and avoid dry sanding or creating airborne dust without proper containment and protective equipment.
Apply Primer in Thin, Complete Coats
One heavy coat is not better than two controlled coats. Apply primer evenly, working it into grain, seams, and knot areas without flooding the surface. Use a brush for profiles and corners, then a quality mini roller for broad, flat sections. For doors, cabinets, and furniture, a fine-finish roller or sprayer can help reduce texture.
Allow the primer to dry for the full time listed on the label before recoating or painting. Dry to the touch is not always ready to topcoat. Temperature, humidity, airflow, and product type all affect the schedule.
Once dry, inspect the surface under good light. If yellow, brown, or reddish discoloration appears, that is a signal to apply another stain-blocking primer coat before paint. Do not try to hide bleed-through with extra finish coats. Most finish paints are not designed to seal stains, and the discoloration can return through multiple coats.
A light scuff sand after priming can improve smoothness, particularly on trim, cabinets, and furniture. Remove the sanding dust, then apply two thin finish coats for the most consistent color and durability.
Common Primer Mistakes to Avoid
The most expensive mistake is using a standard drywall primer or a basic latex primer over severe staining. These products may look fine initially, then allow tannins or old stains to discolor the paint later. Another common issue is applying primer over wax, grease, or glossy varnish without cleaning and sanding first.
Avoid mixing products without checking compatibility. Most quality oil and shellac primers can be topcoated with water-based paint once fully dry, but always follow the manufacturer instructions for recoat windows, cleanup, and recommended topcoats. Exterior projects also need an exterior-rated primer and paint system, not leftover interior materials.
If you are unsure whether a stain will bleed, run a small test area. Prime one section, let it dry, and check it after a day. This quick step can save hours of repainting an entire room or furniture piece.
At Oui Colour Paint, homeowners and trade professionals can source primers, finish paints, brushes, rollers, sanding supplies, and project guidance in one place. Bring in a photo of the wood surface or describe the stain you are seeing, and choose a primer system built for the job instead of settling for a coat that only looks right at first.
The right primer is the quiet layer behind a lasting finish. Give stained wood the sealing power it needs before opening the paint can, and your final color has a far better chance of staying clean, even, and true.
