


How to Remove Wallpaper Glue Cleanly

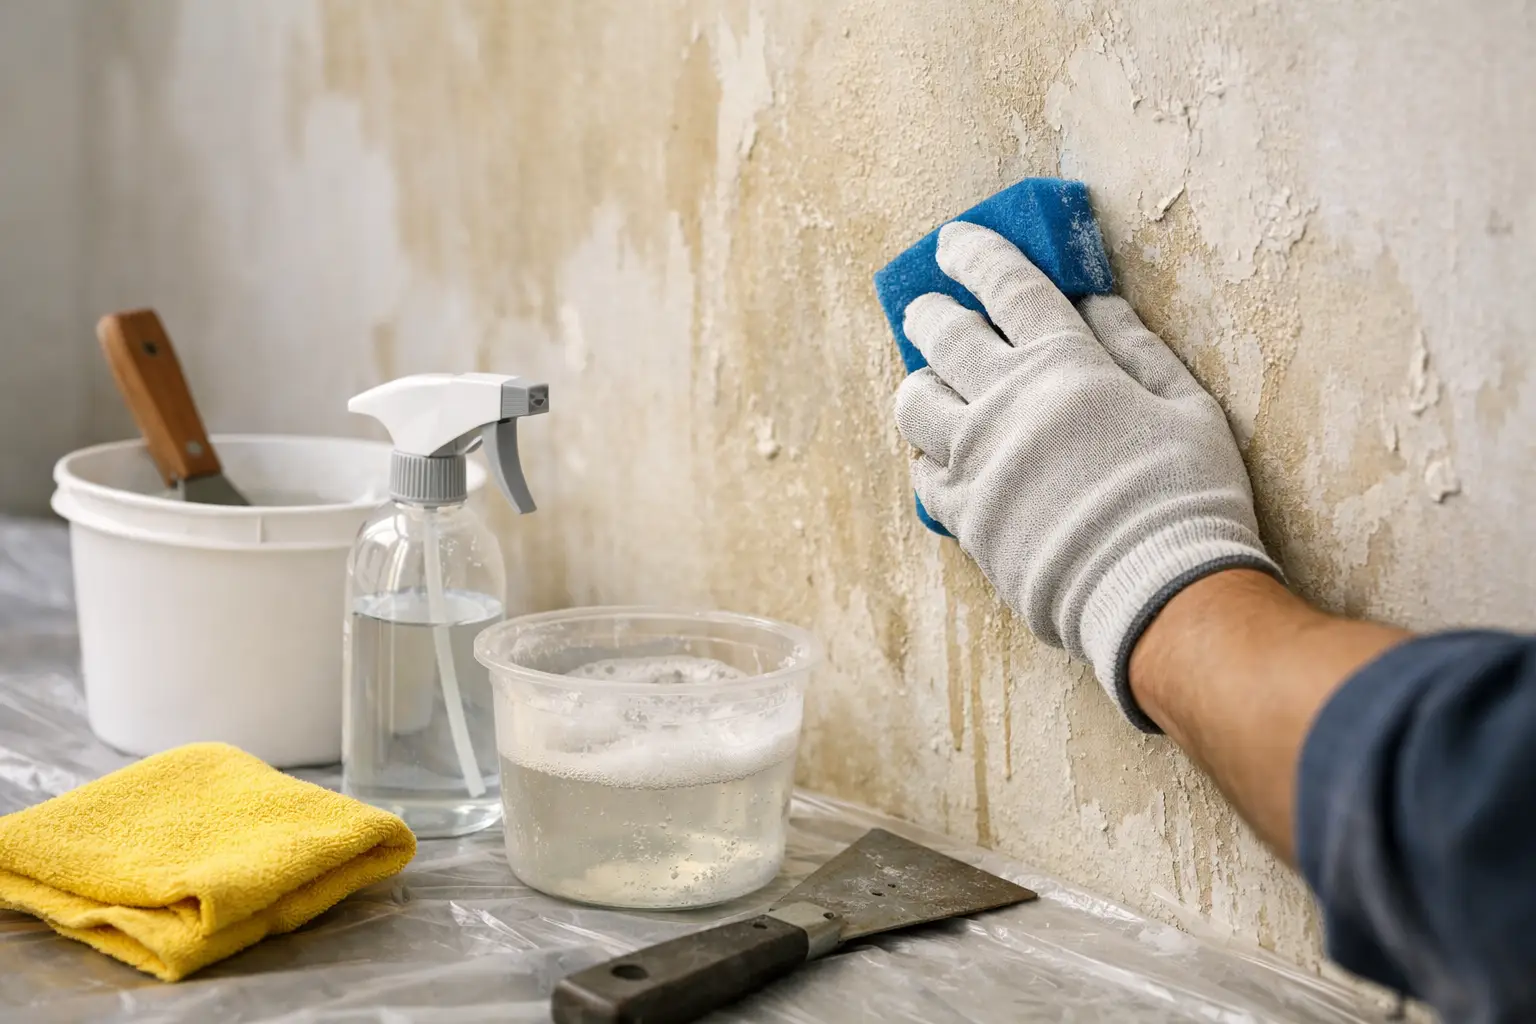
You can spot leftover wallpaper adhesive the moment fresh paint starts flashing, dragging, or drying with a rough patchy look. If you’re wondering how to remove wallpaper glue before painting, the short answer is this: slow the process down, use the right amount of moisture, and clean the wall completely before you reach for primer.
Wallpaper glue is stubborn, but it is not complicated. Most failures happen because the residue looks gone long before it actually is. A wall can feel mostly smooth and still hold a thin film of adhesive that interferes with paint, primer, or new wallpaper. Whether you’re refreshing a bedroom, turning over a rental, or prepping multiple rooms on a renovation schedule, proper cleanup saves time and rework.
Why wallpaper glue needs to come off fully
Residual adhesive causes more problems than many DIYers expect. Paint can fisheye, lose adhesion, or dry unevenly over glue. Primer may not bond consistently, and new wallpaper can fail if it is installed over contaminated walls. On busy projects, that means wasted labor, extra coats, and a finish that never quite looks right.
The exact cleanup method depends on the wall surface and how aggressive the original adhesive was. Painted drywall needs a lighter hand than old plaster, and damaged drywall paper needs even more care. The goal is not just to scrub hard. The goal is to soften the glue, lift it without gouging the surface, and leave the wall clean enough for the next step.
How to remove wallpaper glue without damaging the wall
Start with the least aggressive method first. In many cases, warm water does most of the work if you give it enough contact time.
Fill a bucket with warm water and use a sponge or microfiber cloth to wet a manageable section of wall. Work in small areas so the moisture stays active. Let it sit for a few minutes, then wipe the surface using moderate pressure. You are trying to reactivate the adhesive, not flood the wall.
As the glue softens, rinse your sponge often. Dirty water simply smears adhesive around. If the wall still feels tacky after the first pass, repeat the process. Most rooms need several rounds before the residue is actually gone.
For heavier buildup, a mix of warm water and a small amount of dish soap can help cut through the film. Some contractors also use vinegar diluted with warm water for stubborn residue. That can be effective, but it depends on the wall and the adhesive. If you’re working on a delicate painted surface or older drywall, test first in an inconspicuous area.
Tools that make the job easier
You do not need a long specialty list, but a few good prep tools matter. A bucket, clean sponge, microfiber cloths, a spray bottle, and a plastic putty knife handle most wallpaper glue removal jobs well. The plastic knife is useful for lifting softened buildup without scoring the wall the way a metal blade might.
A sanding sponge can help at the very end, but only after the wall is fully dry and only if there are small rough spots left behind. Sanding active glue is a mistake. It gums up abrasives and pushes residue deeper into the surface.
Best method by surface type
Drywall is the most common surface and usually the easiest to damage. Use enough moisture to soften the adhesive, but do not soak the wall. If drywall paper starts to bubble, fray, or peel, stop scrubbing that area and let it dry before deciding on the next repair step.
Plaster can usually tolerate a bit more moisture and friction, which helps on older homes where wallpaper has been layered over time. Even so, aggressive scraping can leave shallow divots that show once painted.
Previously painted walls are mixed. If the old paint is sound, glue cleanup is straightforward. If the paint is weak or already chalking, washing may expose more loose material than expected. In that case, glue removal becomes part of a larger prep job that may include patching and priming.
Signs the glue is still there
This is where many projects go sideways. A wall can look clean but still hold residue.
Run your hand across the dry surface. If it feels tacky, slick, rubbery, or unevenly draggy, glue remains. Another clue is shine. Adhesive often leaves slightly glossy patches that stand out when light hits at an angle. If rinse water starts to feel slippery or cloudy while wiping a wall that looks clean, you are still removing glue.
A simple test is to wipe the wall with clean warm water one more time after you think you’re done. If the surface turns slimy again, keep cleaning.
When stronger solutions make sense
If warm water, dish soap, or vinegar are not enough, a dedicated wallpaper remover can speed things up. This is often the better call on large jobs, older adhesive, or commercial spaces where time matters. The key is using a remover that matches the substrate and following dwell times carefully.
Stronger is not always better. Harsh chemicals can create their own cleanup issues, especially if residue is left behind before priming. For most homeowners, a proven wallpaper-removal solution and careful rinsing are more reliable than improvising with overly aggressive cleaners.
Trade pros usually weigh this based on labor cost. If a remover cuts an hour of scrubbing per room and rinses clean, it may be the most efficient option. If the wall is fragile, however, controlled use of warm water may still be the safer route.
After glue removal, let the wall dry completely
This part gets skipped too often. Once the glue is off, the wall needs time to dry fully before patching, sanding, or priming. Depending on room temperature, humidity, and how much water you used, that may take several hours or overnight.
Do not judge the surface while it is still damp. Moisture can temporarily hide roughness, soften remaining residue, and make the wall seem cleaner than it is. When dry, inspect again under strong side lighting and run your hand across the surface.
If you find isolated rough spots, use a light sanding sponge and keep the pressure controlled. Then remove dust thoroughly.
Prepping for primer and paint
Once the wall is clean and dry, repair any torn drywall paper, dents, or seams with the right patching material. Spot repairs should be sanded smooth and dust-free before coating.
Primer matters here. A quality primer helps seal repaired areas, create an even surface, and improve topcoat adhesion. If the wall had heavy adhesive residue or minor paper damage, a problem-solving primer is often the safer choice than a basic builder-grade product. That extra step helps protect the finish coat and reduces the risk of flashing or texture differences later.
If you’re moving quickly from wallpaper removal to repainting, this is where buying all prep materials from one supplier saves time. Matching the primer, patch, abrasives, and application tools to the surface is often the difference between a one-weekend project and a wall that needs to be redone.
Common mistakes that create more work
The biggest mistake is painting too soon. Even small traces of wallpaper glue can telegraph through paint or cause bonding problems that show up after the room is finished.
The second is using too much water. Saturated drywall can soften, swell, and tear, especially around seams. Work in sections and reapply moisture as needed instead of soaking the whole wall.
The third is scraping too aggressively. If the adhesive has not softened enough to wipe away, more force is not the answer. Give it more dwell time, refresh the water, or step up to a proper remover.
Another common issue is failing to rinse. Cleaning agents and dissolved glue both need to come off the wall. A final pass with clean water helps prevent leftover residue from interfering with primer.
A cleaner wall makes every next step easier
Knowing how to remove wallpaper glue is really about protecting the finish that comes next. Clean walls accept primer better, paint more evenly, and make your work look professional whether you’re updating one room or turning over an entire property. If you want the job to move smoothly, treat glue removal as part of the finish, not just the cleanup.
