


Why Cabinet Primer Before Painting Matters

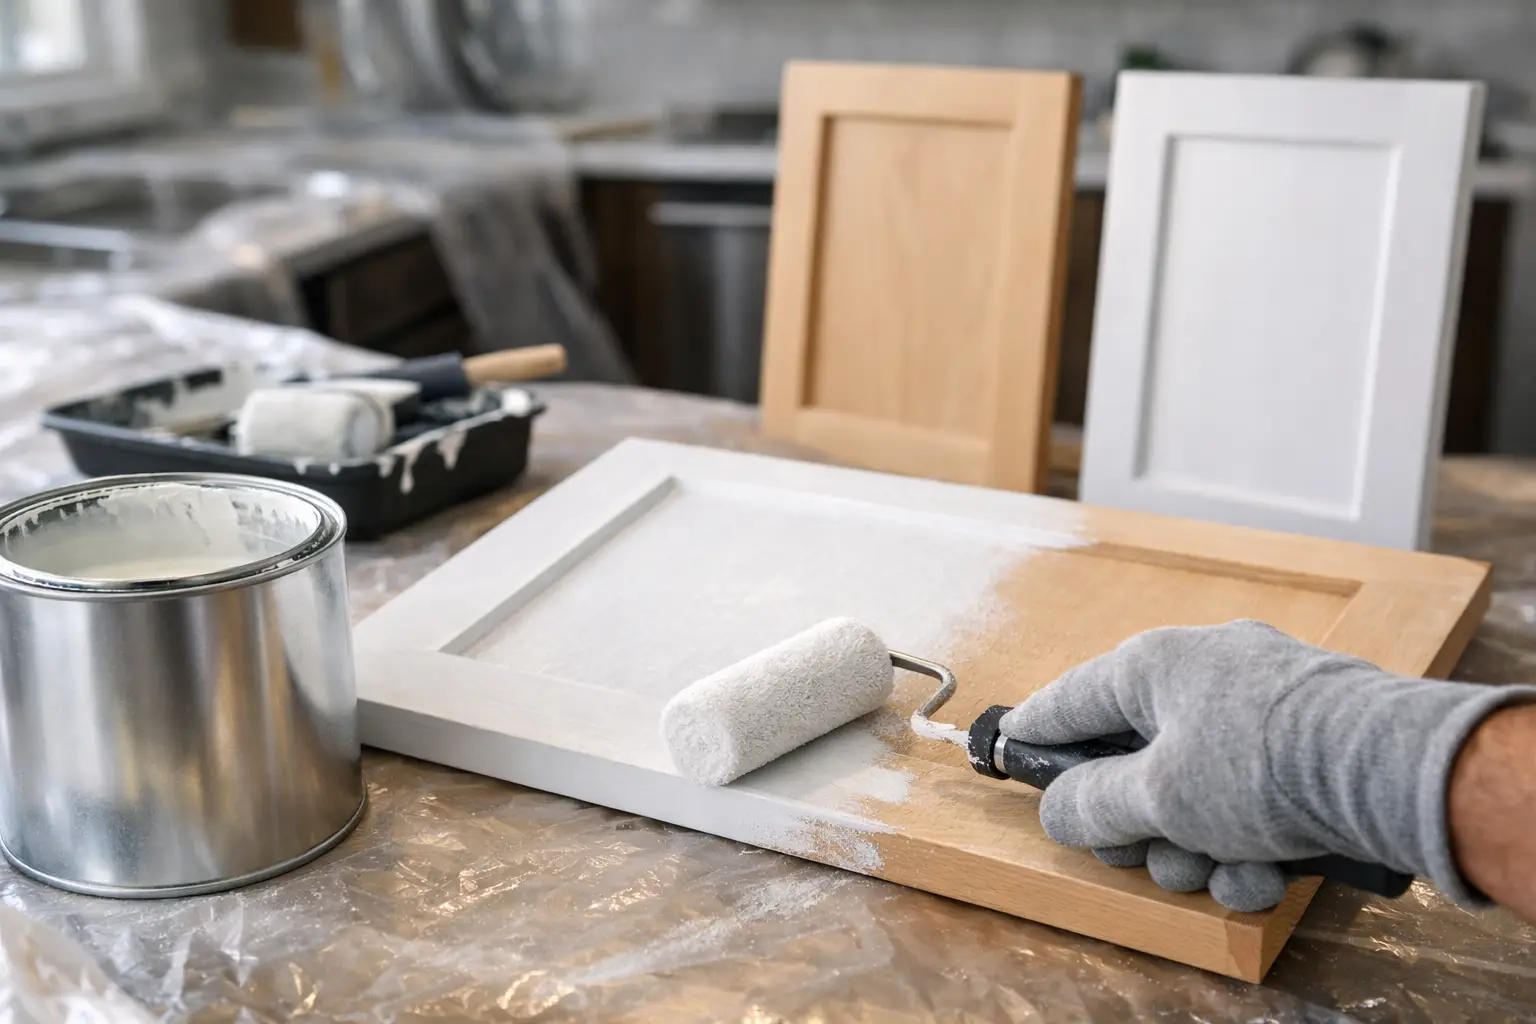
A fresh cabinet color can make a kitchen, bath, or built-in look completely renewed, but the finish is only as reliable as the surface below it. Using cabinet primer before painting is often the difference between a smooth, hard-wearing update and a paint job that chips around handles, shows stains, or peels when cleaned.
Cabinets take more abuse than most painted surfaces. They are opened daily, exposed to cooking grease, touched with damp hands, and scrubbed regularly. That is why preparation deserves as much attention as paint color. The right primer creates a stable bond between the existing cabinet finish and your new topcoat, helping the finished surface look better and hold up longer.
Do You Need Cabinet Primer Before Painting?
In most cabinet projects, yes. Primer is especially valuable when you are painting over a glossy factory finish, bare wood, stained wood, laminate, MDF, melamine, or a cabinet surface with repairs and discoloration. These materials either resist paint adhesion, absorb coatings unevenly, or allow stains and tannins to show through a new color.
There are exceptions. Some high-adhesion cabinet paints are designed to be applied directly over properly cleaned and sanded existing finishes. Even then, skipping primer is a judgment call, not a universal shortcut. If the cabinets are in excellent condition, have a sound previously painted surface, and you are staying close to the existing color, a direct-to-paint system may perform well.
Primer remains the safer choice when durability matters, when the color change is dramatic, or when the surface history is unknown. For a busy kitchen, rental turnover, professional renovation, or a first-time cabinet project, it gives you more control over the result.
What Primer Does for Cabinets
A quality cabinet primer is not simply an extra coat of paint. It performs several jobs at once. It grips difficult surfaces, seals porous areas, blocks stains, and creates an even base so the finish coat can build consistent color and sheen.
On wood cabinets, primer reduces uneven absorption. Without it, end grain, bare spots, and repaired areas can soak up paint differently and leave a patchy appearance. On laminate or melamine, an adhesion primer gives the topcoat a surface it can grab instead of sitting on a slick factory finish.
Primer also matters when repainting dark cabinetry a lighter shade. A white or gray-tinted primer can improve coverage and reduce the number of finish coats required. That can save paint, but the bigger advantage is a more uniform final color.
Stain Blocking Is a Separate Need
Not every primer blocks stains equally. Oak, cherry, mahogany, knotty pine, and other tannin-rich woods can bleed yellow, brown, or reddish marks through paint, sometimes days or weeks after the project seems finished. Water stains, nicotine residue, cooking grease, and old cabinet odors can also require stronger sealing.
For these situations, choose a stain-blocking primer rated for the specific problem. Shellac-based and oil-based primers are often the most dependable options for stubborn tannin bleed and odor sealing. They do require more ventilation and cleanup considerations than many water-based products, so match the product to the job rather than choosing solely based on convenience.
Choose the Primer for the Cabinet Material
The best formula depends on what your cabinets are made of and what is currently on them. Start by identifying the surface before buying paint or primer.
Previously Painted Wood Cabinets
If the existing paint is firmly bonded and not peeling, a high-quality bonding primer is usually sufficient after cleaning and scuff sanding. Spot-prime areas where bare wood, filler, or repairs are exposed. Prime the whole cabinet if the old paint is uneven, glossy, stained, or changing from a very dark color to a light one.
Stained or Varnished Wood
Clean thoroughly, sand to remove surface gloss, and use an adhesion primer. If the wood is oak or another species prone to tannin bleed, choose a stain-blocking formula rather than a basic general-purpose primer. A test door is worthwhile before committing to the entire kitchen.
Laminate and Melamine Cabinets
These are among the most common surfaces where primer should not be skipped. Use a primer specifically labeled for slick, nonporous, or hard-to-paint surfaces. Sanding helps create tooth, but sanding alone does not make laminate paint-ready. The correct bonding primer is what helps the coating system resist peeling at edges and high-touch areas.
MDF and Bare Wood
MDF edges and raw wood are thirsty. They need sealing to prevent a rough, swollen, or uneven finish. Apply primer evenly, allow it to dry fully, then sand lightly before painting. Two thin coats of primer may be needed on exposed MDF edges for a smooth, furniture-grade result.
Prepare Cabinets Before You Prime
Primer cannot compensate for grease, loose paint, wax, silicone polish, or poor sanding. Cabinet prep is where projects are won or lost.
Remove doors, drawers, and hardware when possible. It takes more setup time, but it gives you cleaner edges and prevents paint buildup around hinges and pulls. Label every door and drawer so reinstallation is straightforward.
Next, clean all surfaces with a degreasing cleaner suitable for paint preparation. Kitchen cabinets often hold an invisible film of oils, especially near the range, handles, and lower doors. Rinse or wipe according to the cleaner directions, then let surfaces dry completely.
Repair dents, old hardware holes, chips, and open seams with a paintable wood filler or appropriate repair compound. Once repairs are dry, sand them flush. Then scuff sand the full surface to remove sheen and create a uniform profile for primer. You are not trying to strip cabinets to bare wood unless the existing coating is failing. The goal is a dull, clean surface with no glossy patches.
Vacuum sanding dust and wipe down with a clean, lint-free cloth. Dust left in corners or along door profiles can turn an otherwise smooth paint job into a gritty one.
How to Apply Cabinet Primer for a Smooth Finish
Use a quality angled brush for profiles and tight corners, plus a small microfiber or foam roller for flat surfaces. A fine-finish roller sleeve generally leaves less texture than a standard wall-paint roller. For larger professional projects, spraying can produce an exceptionally smooth result, but it requires masking, proper equipment, and controlled ventilation.
Apply thin, even coats. Heavy primer coats are more likely to sag on door edges, settle in recessed panels, and take longer to cure. Work in a logical order: backs of doors first, then fronts; cabinet frames; then drawer fronts. Keep a wet edge and check door profiles for drips before moving on.
Follow the product label for dry and recoat times. Temperature, humidity, and ventilation affect those windows. A primer may feel dry to the touch while still needing more time before sanding or recoating. Rushing this stage can cause dragging, adhesion problems, or texture in the finish paint.
After the primer dries, inspect it under good lighting. Sand lightly with a fine-grit sanding sponge to remove dust nibs and brush marks, then remove all dust before applying cabinet paint. This small step is one of the most reliable ways to get a refined finish without spraying.
Common Primer Mistakes That Shorten Cabinet Life
The most common issue is treating primer as a substitute for cleaning. Paint and primer cannot bond through grease. Another mistake is choosing a basic wall primer for laminate, glossy varnish, or stain-prone wood. A lower-cost product can become expensive when cabinets need to be repainted prematurely.
Do not over-sand laminate or veneer. Aggressive sanding can cut through the thin face layer and create damage that is difficult to hide. Use controlled scuff sanding and let a bonding primer do its job.
Finally, do not confuse dry time with cure time. Even after the final coat feels dry, cabinets need time to harden before they can tolerate regular cleaning, closing, and hardware contact. Handle doors gently during reassembly and follow the paint system’s full cure guidance.
A cabinet repaint is a high-impact upgrade, and the prep products should be selected with the same care as the final color. Choose a primer that matches your cabinet material, use a durable cabinet-grade topcoat, and give each layer the time it needs. The result is a finish that looks intentional on day one and stays dependable through daily use.
