


Is Garage Floor Epoxy Coating Right for You?

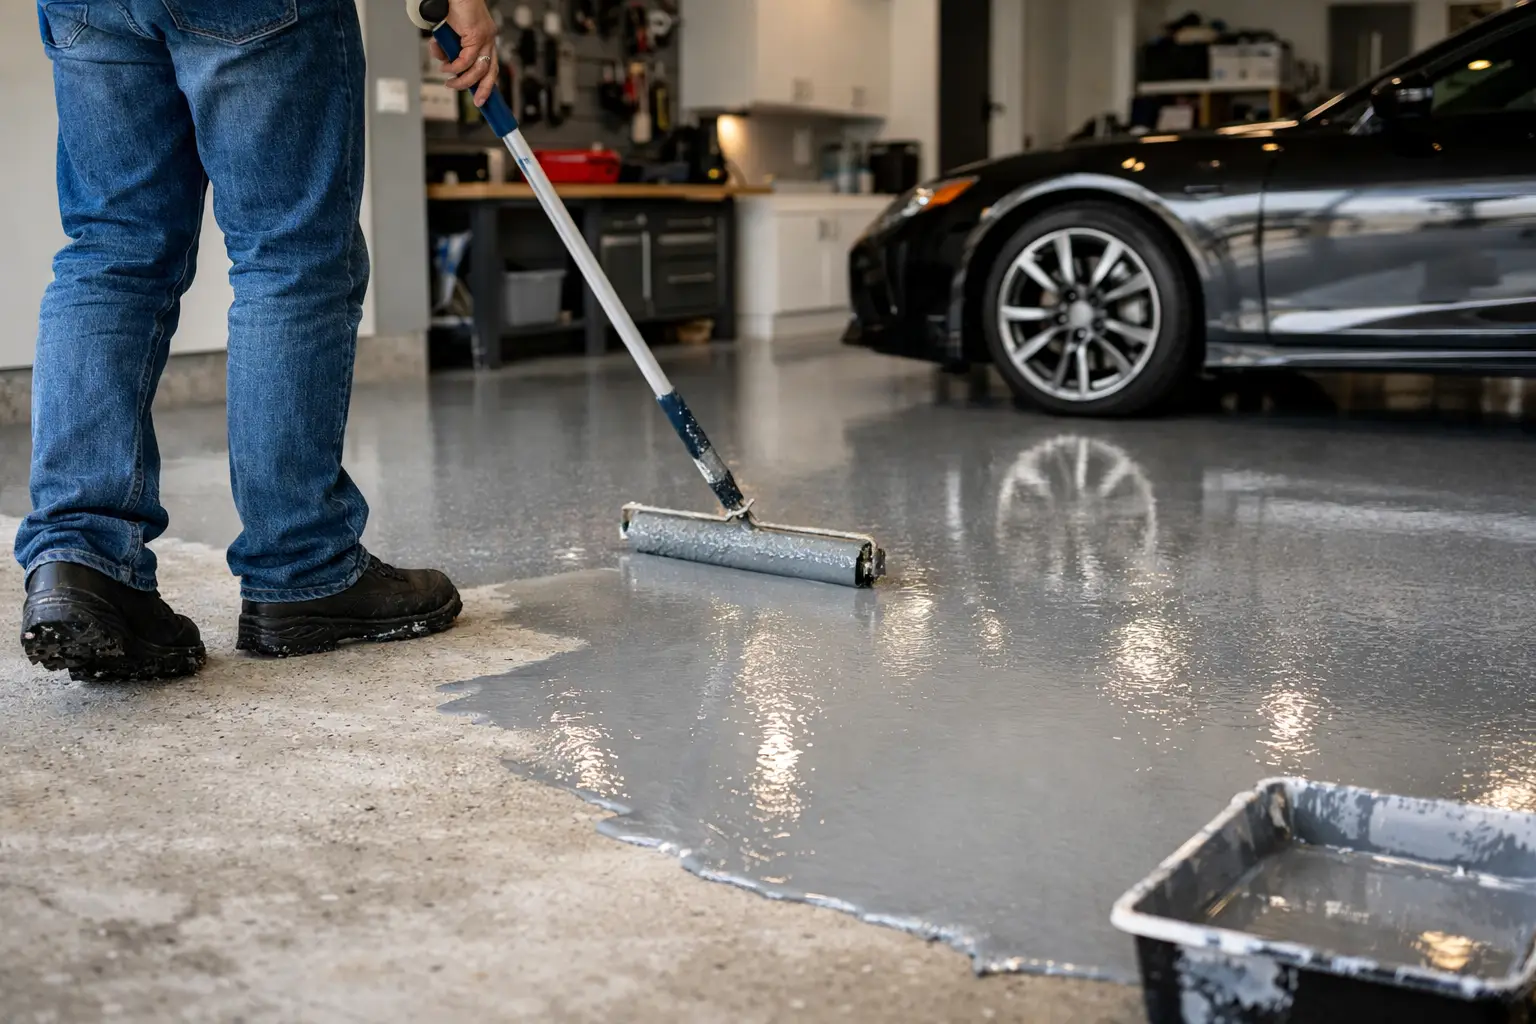
A garage floor epoxy coating can turn dusty, stained concrete into a hard-wearing surface that is easier to clean and far more finished-looking. But the glossy garage floors seen in project photos are not created by epoxy alone. Their long-term performance comes down to concrete condition, moisture testing, surface preparation, and choosing a coating system that suits how the garage is actually used.
For a homeowner, that may mean a cleaner place to park, work on bikes, or set up a home gym. For a contractor or renovator, it means delivering a durable floor with a consistent appearance and fewer callbacks. The right system can handle daily traffic and common spills. The wrong system, or a rushed application, can peel, blister, or show hot-tire marks well before it should.
What a Garage Floor Epoxy Coating Does Well
Epoxy is a two-part coating made from resin and hardener. Once mixed, it cures into a dense, bonded film that is much tougher than standard floor paint. Applied over properly prepared concrete, it helps seal the surface against dust, oil, road salt, dirt, and many household chemicals.
Its biggest advantage is protection. Bare concrete is porous, which means melted snow, de-icing salt, oil drips, and cleaning chemicals can soak in and leave lasting stains. An epoxy floor creates a cleanable barrier, so routine maintenance is usually as simple as sweeping and mopping with a mild cleaner.
Appearance is another major reason people choose epoxy. Solid gray remains a practical favorite, but decorative vinyl flakes can create a more forgiving, speckled finish that hides dust and tire marks better than a single-color floor. Flakes also add texture, which is useful when wet boots, snowmelt, or rain are part of the equation.
Epoxy is not a cure-all, however. It will not fix a slab that is actively moving, badly contaminated with oil, or pushing moisture vapor upward. It also is not always the fastest option. Traditional epoxy systems often need several days before they can accept vehicle traffic, while faster-curing polyaspartic systems may be a better fit for projects with a tight schedule.
Start With the Concrete, Not the Coating
The most expensive coating system cannot overcome poor prep. Before selecting color or flakes, inspect the floor closely. Look for peeling old paint, spalling concrete, wide cracks, dark oil spots, chalky areas, and signs of moisture such as white mineral deposits or damp patches.
Small shrinkage cracks are common and can often be filled with a compatible concrete repair material before coating. Larger structural cracks deserve more attention. If the slab is shifting or the crack continues through the garage wall or driveway, a coating will not stop that movement. The repair approach needs to address the cause first.
Oil contamination is another frequent issue. Degreasing is essential, but deeply saturated concrete may need repeated treatment and mechanical grinding to reach clean, sound material. Coating over an oily spot is one of the fastest ways to create an adhesion failure.
Moisture deserves equal respect. A simple taped-plastic test can reveal obvious moisture, but professional moisture testing provides a better basis for selecting a system, especially on older slabs or garages without a reliable vapor barrier. If vapor transmission is too high, standard epoxy may blister or release from the concrete. In that case, a moisture-mitigating primer or a different flooring solution may be needed.
Mechanical Prep Produces Better Results
Many DIY kits rely on an acid-etching solution to create a rougher surface. Etching can work on clean, sound concrete when performed carefully, but it has limits. It does not remove coatings effectively, it cannot solve contamination, and it requires thorough rinsing and drying.
Mechanical grinding or shot blasting is the preferred prep method for demanding projects. It opens the concrete pores, removes weak surface material, and creates a consistent profile for the coating to grip. For trade work, commercial garages, or slabs with existing coatings, mechanical prep is generally the more dependable route.
The floor should feel similar to medium-grit sandpaper after preparation, not smooth or polished. Vacuum thoroughly, including edges and expansion joints. Fine dust left behind can interfere with adhesion and leave visible debris in the finish.
Choosing the Right System for Your Garage
Not every epoxy product delivers the same film build, chemical resistance, or cure time. A thin, water-based coating can be a practical budget-friendly refresh for a lightly used garage. A thicker 100 percent solids epoxy system offers stronger build and durability, but it requires more careful mixing, application timing, and ventilation planning.
For garages that see regular vehicle traffic, road salt, tools, and occasional automotive work, a multi-coat system is often worth the investment. This commonly includes a primer, an epoxy base coat, decorative flakes if desired, and a protective clear topcoat. The topcoat matters because it improves scratch resistance, makes cleaning easier, and can provide better resistance to hot tires and chemicals.
Polyaspartic topcoats and full polyaspartic systems are popular for their fast cure times and strong UV stability. They are especially useful near open garage doors where sunlight can yellow some epoxies over time. The trade-off is that fast-curing products have a shorter working window, so installation demands confident planning and a prepared crew.
A decorative flake finish is often the best all-around option for active garages. Full-flake coverage creates a dense, uniform surface, while partial broadcast uses less material and leaves more of the base color visible. Add a compatible anti-slip aggregate to the clear coat if slip resistance is a priority. Keep expectations realistic: more texture improves traction but can make the surface slightly harder to mop.
How to Apply Epoxy Without Cutting Corners
Plan the project around temperature, humidity, and cure time. Most products have a recommended application range, and cold concrete slows curing significantly. Do not assume that warm afternoon air means the slab is warm enough. Concrete holds temperature differently, particularly in an unheated garage.
Clear the garage completely, then protect walls, door tracks, and adjacent surfaces from splatter. Complete repairs and surface prep before opening coating components. Once epoxy is mixed, the pot life begins immediately. A larger mixed batch can heat up and cure faster in the container, so follow the product instructions carefully and mix only what can be applied within the stated working time.
Cut in edges first, then use a roller to spread the coating evenly across manageable sections. Avoid stretching material too thin just to make it cover more square footage. Thin application reduces build and can leave weak coverage over the concrete profile. If using flakes, broadcast them while the base coat is still wet enough to hold them.
After the base coat cures, scrape and vacuum loose flakes before applying the clear topcoat. This step makes the difference between a floor that feels finished and one that sheds flakes for weeks. Respect recoat windows as well. Applying the next layer too early can trap solvents or cause texture problems, while waiting too long may require sanding for adhesion.
Common Reasons Epoxy Floors Fail
Most epoxy failures are preventable. Peeling nearly always points back to inadequate preparation, contamination, moisture, or applying the coating outside its recommended conditions. Tire pickup can happen when a low-quality coating is used, the system is under-cured, or hot tires are parked on it too soon.
Bubbles and pinholes often come from air escaping porous concrete, especially as the slab warms. A properly selected primer and a stable application temperature can reduce this risk. Yellowing is usually a UV issue, which is why a UV-stable topcoat is valuable for garages with frequent sun exposure.
Do not rush vehicle return. A floor that feels dry to the touch may still be developing its full chemical and abrasion resistance. Follow the manufacturer’s cure schedule for foot traffic, light use, and vehicle traffic. Waiting an extra day is less costly than repairing tire tracks or a damaged finish.
Maintain the Finish You Paid For
A coated garage floor does not need complicated care, but it benefits from regular attention. Sweep grit and road salt away before they act like sandpaper under tires and footwear. Wipe oil, fuel, brake fluid, and chemical spills promptly, even if the coating is rated for chemical resistance.
Use a soft broom, microfiber mop, or gentle floor scrubber with a pH-neutral cleaner. Avoid aggressive solvents and harsh degreasers unless the coating manufacturer specifically approves them. Place protective pads under heavy equipment, metal shelving, or kickstands, and use a drip mat beneath vehicles with known leaks.
A garage floor is a working surface, so no coating remains perfect forever. Yet a well-prepared epoxy system can make the space cleaner, brighter, and easier to use for years. If you are deciding between a DIY kit and a higher-build coating system, start with the condition of the concrete and the demands of the space. Oui Colour Paint can help you assemble the prep products, coating materials, and application tools needed to approach the job with fewer surprises.
